This post is part of the River Pond Quilt Along. You can find more info and the schedule HERE. While this content is directed toward the River Pond QAL, the same concepts can be applied to any quilt that you are making.
You can purchase the River Pond pattern HERE.
Are You Ready?!
Today is cutting day! Wahoo! I’m excited to starting putting our quilts together and see how our plans come to life!
I always get a bit of nerves at this stage. “Is this even going to look good?!?!?!” Ahhh! Do you get that too? Maybe it’s just me.
But then I take a deep breathe and think of the finished quilt and how awesome it’ll be – no matter how it turns out, and I’m back to having fun and feeling all the excitement and am ready to sew.
So here we go…
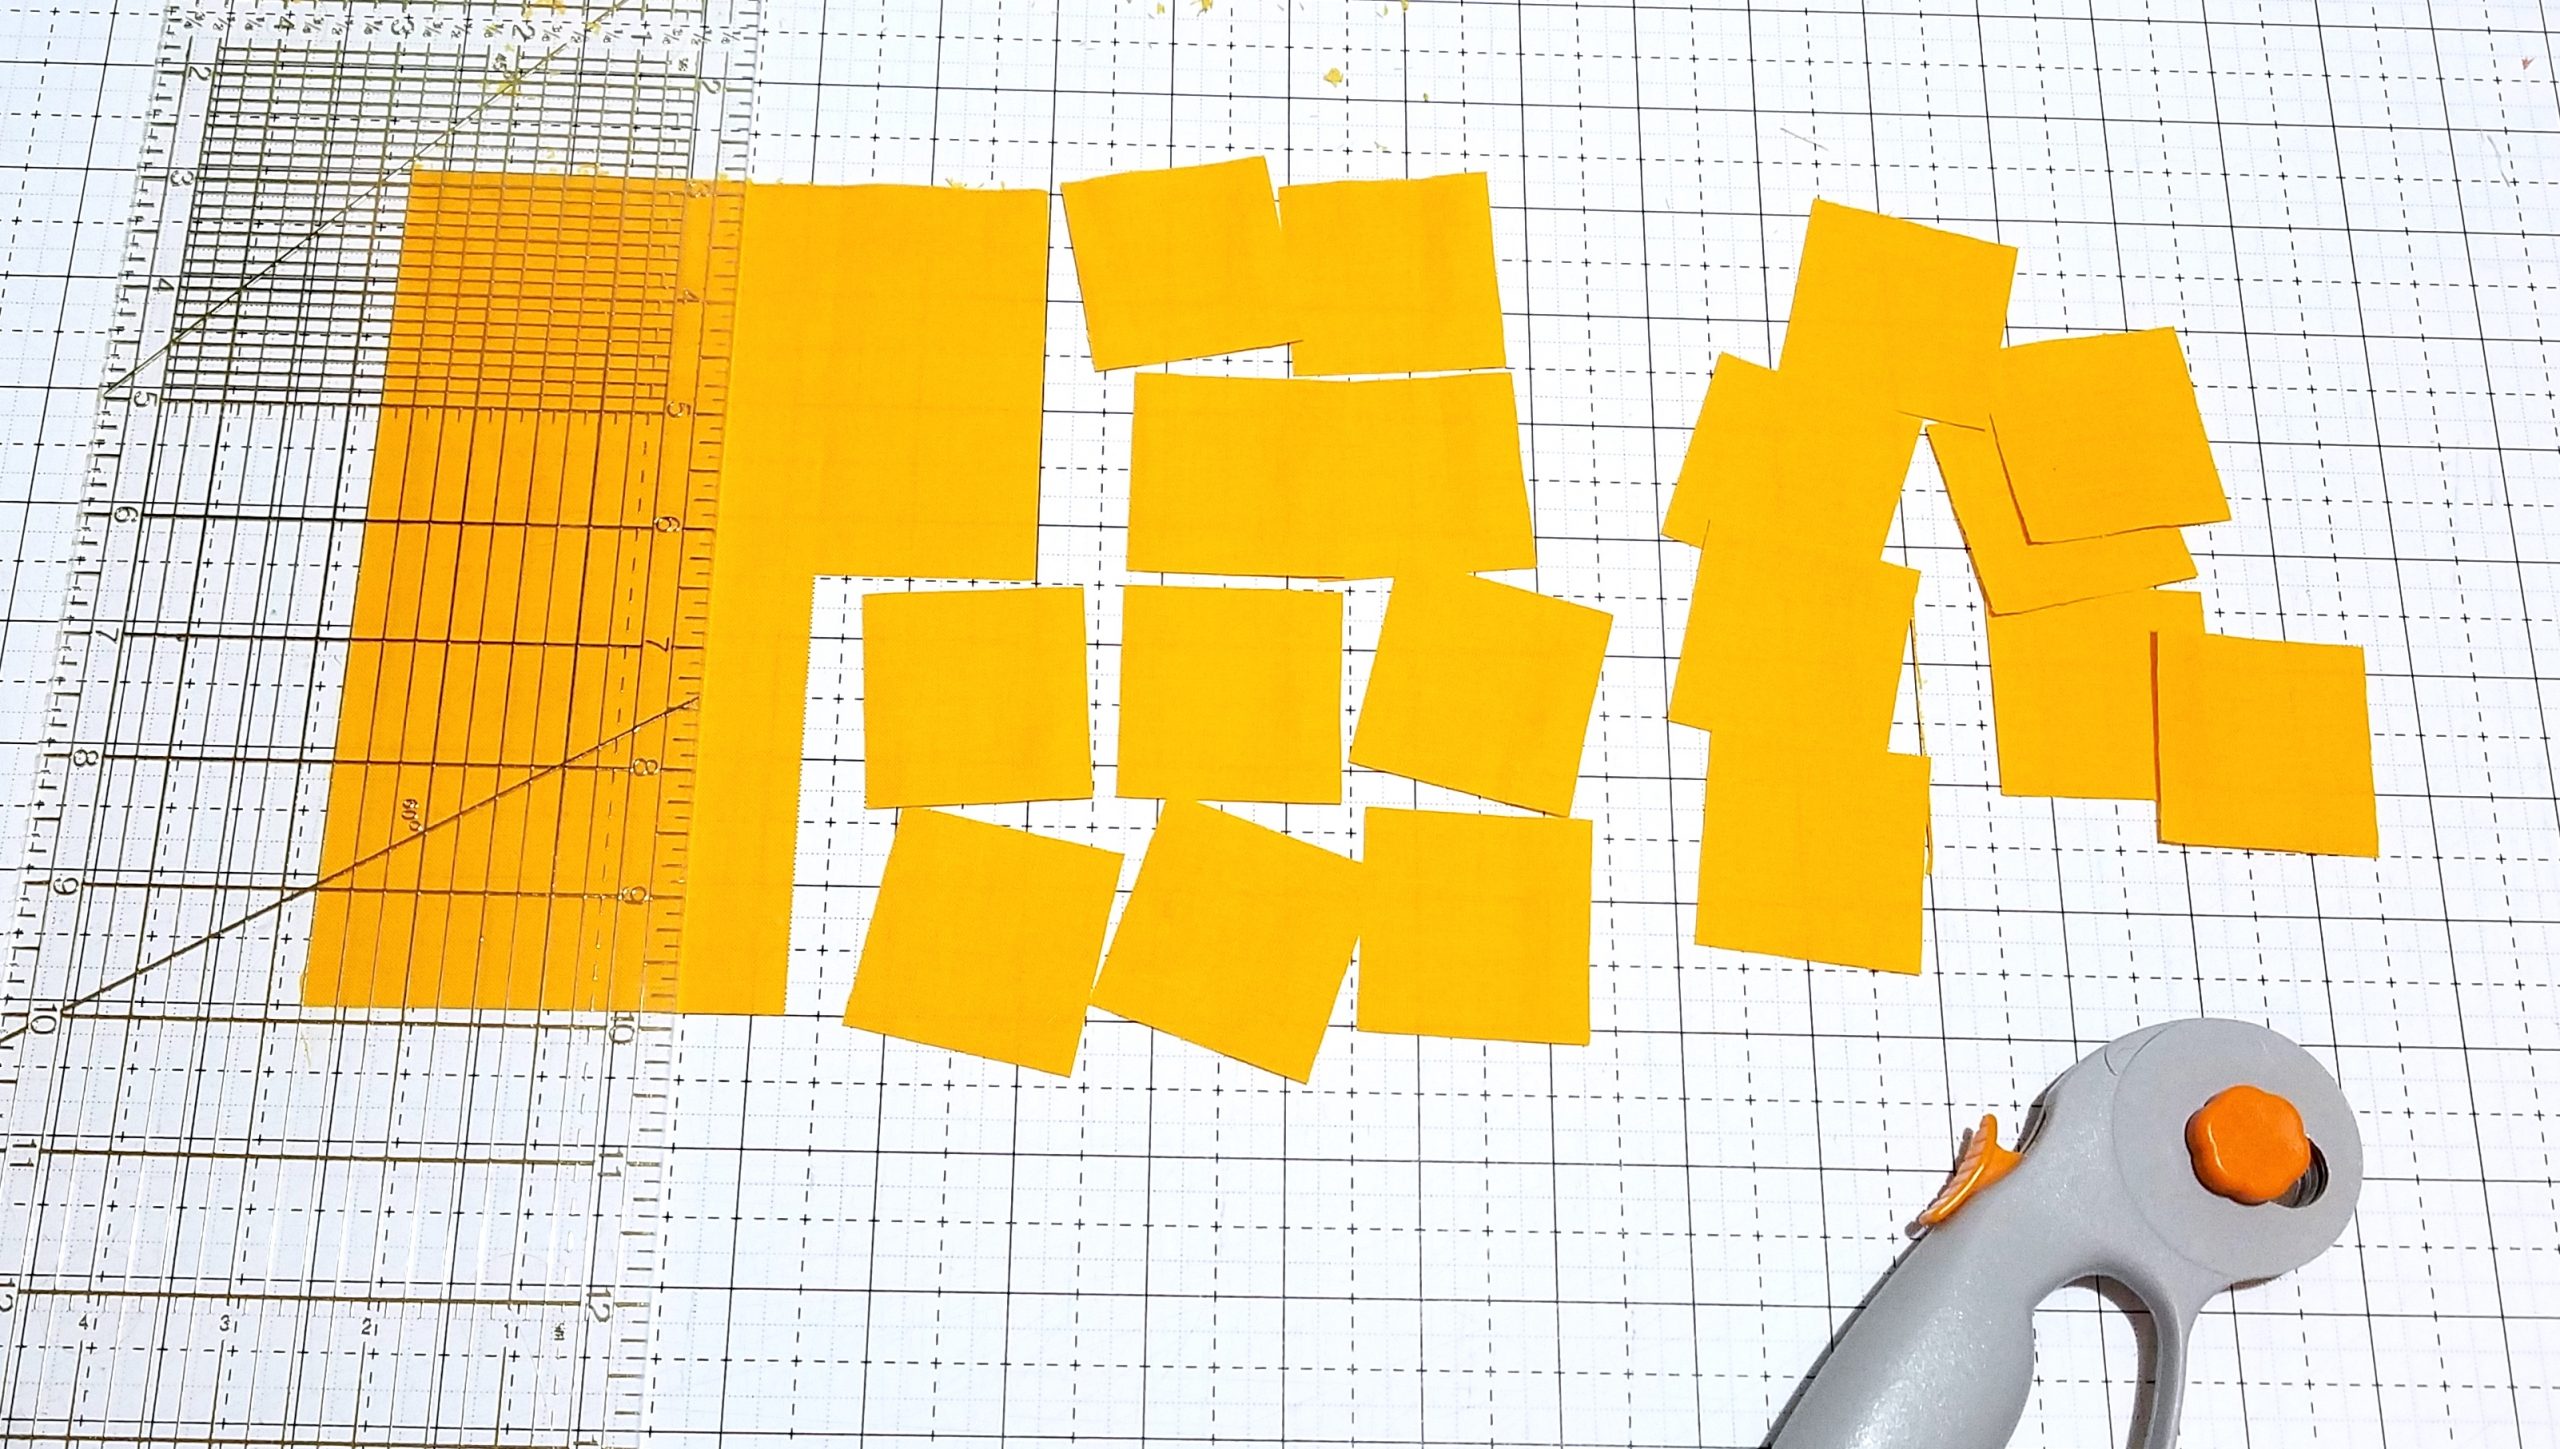
Cutting Fabric
If your plan is exactly like the pattern (as in fabric placement, though maybe with different fabrics): simply follow the cutting instructions in the pattern.
If you are going scrappy: ignore the cutting instructions and follow the instructions under each block instruction.
Though you will need to cut more pieces that are not in any of the block assembly. If you need help figuring which ones those are, send me a message and I’ll help you out.
If you have small variations: check out this post from last week. I show you how I figured out where my changes were and how to use the cutting instructions to easily make those changes.
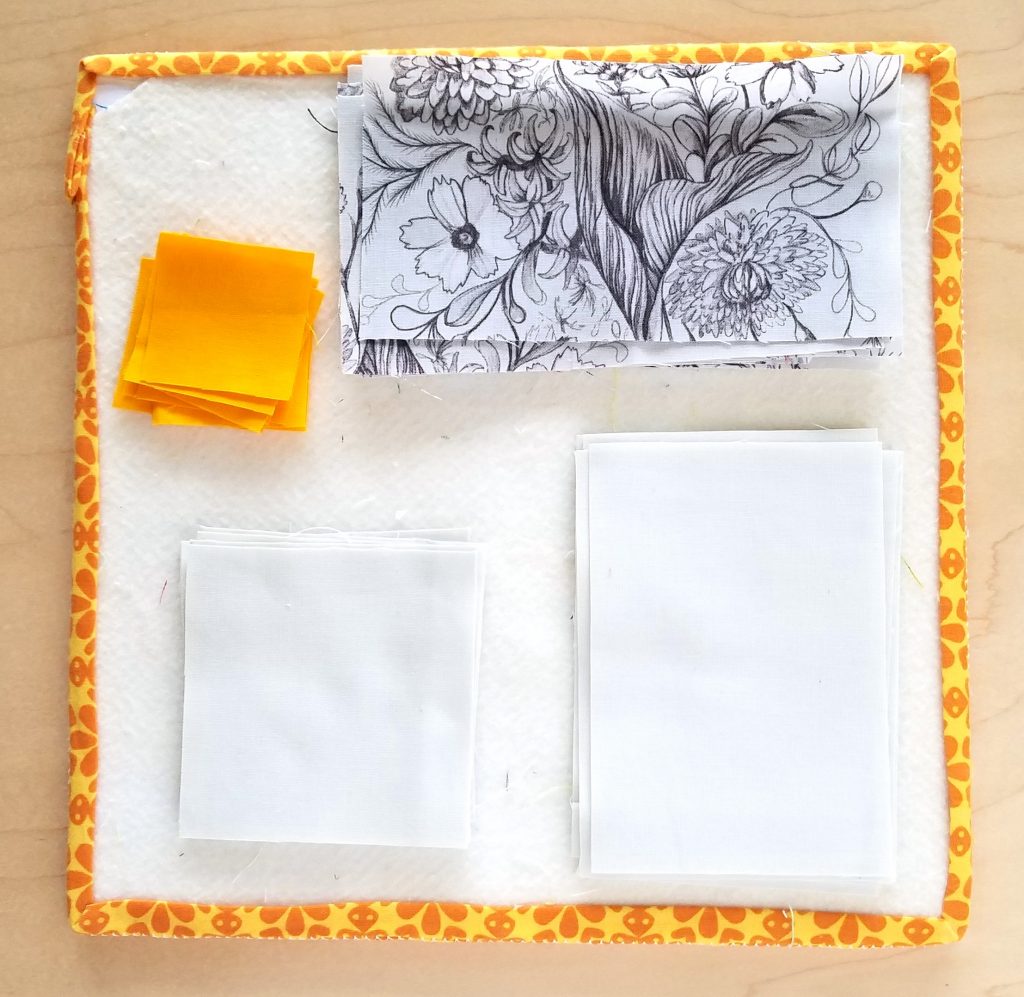
Here is All of my fabric cut out:
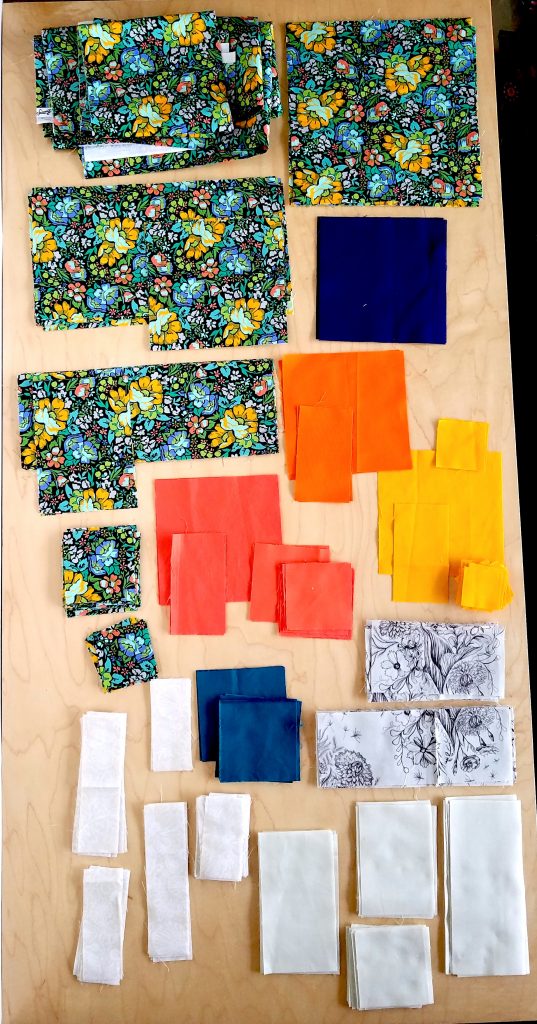
Organize Your Fabric
Once you have your fabric cut out, you’ll want to organize it by block. The easiest way to do this is to go through the pattern and pull the fabrics block by block.
Here’s where my FAVORITE TOOL comes in to play…
I keep my fabric organized on these mini design boards. They are my FAVORITE thing ever! I have at least a dozen of these and use them with paper piecing, quilting, anything where I need to keep things separate.
My boards are organized by block.
You can find the tutorial for the mini design boards by Lori Holt here: https://beeinmybonnetco.blogspot.com/2011/07/mini-design-board-tutorial.html
Homework
Today’s assignment for the week is to cut out your fabric.
I know this can be time consuming, so that’s all I’ve got for the week. On Wednesday I’ll do a Q&A if anyone has any questions. You can post questions on this post, or in the facebook group, or tag me on Instagram, wherever. I’ll compile them and write up a blog post.
Coming up...
On Monday we’ll start making blocks! Monday will be Block A, Wednesday Block B, and then we’ll continue making the rest of the blocks the following week through the month of February.
In March we’ll start assembling everything.
You are itching to get started sewing, make your seems at scant 1/4″. And I do have a few tips for some of the blocks to make them come together with no trouble, so you may want to wait if you find a block isn’t coming together like you want.