Thanks for joining us in the Home Lovin QAL!
We already covered planning your project and getting a good idea of what it will look like in this post here. If you missed it, be sure to go back and read through it before you move on to picking fabrics!
Once you’ve gone through those steps, let’s start with one of my favorite, and sometimes most frustrating, steps…
Step 3: Choose Your Fabric
For this step we’re going to work closely with the colored coloring page(s) that we made in Step 2.
I didn’t talk about this in the last post, but when you’re coloring in your coloring pages, it’s really important to pay attention to value – lightness and darkness of a color. Value placement is super essential in creating the design you want. There really isn’t a wrong or a right in value placement, because each design requires a different scenario.
My suggestion to make sure your project turns out how you want, is to look at your coloring pages! Especially the black and white one. Turn your block into a greyscale version and you’ll see exactly where your light values need to be and where your darker values need to be.
Keep this handy as we continue to pick fabrics. Matching lighter value fabrics with your lighter value sections, and dark with dark, medium with medium.
If you’re having a hard time knowing what value your fabric is, you can take a black and white photo of it, next to the other fabrics you plan to use, and it will show up really clearly what the different values are! I LOVE this tip and am often surprised by what I find!
For the Home Lovin block, you’ll need to pick fabrics for the following sections
- Ground and Sky - these can be separate fabrics or the same.
- The House outline
- Background inside the house (this could also be the same color as the house outline, depending on your design
- The Heart
- As you can see, there are a lot of options here in how you separate or combine just these few elements. That's why playing around with the coloring pages is so great - because you can explore all the possibilities!
What I'm Making
Since I'm making so many different blocks, I'm kind of going to break my own rule here, though it's ok since I'm going with a rainbow theme, which basically means I'm using every color anyway.
- I'm using Kona Haze for my ground/sky and white for my background inside the house. I'm going for more modern feel, clean and simple. I want my fabrics and colors and the designs insdie the houses to pop, so keeping everything else simple will help accomplish the punch I'm looking for.
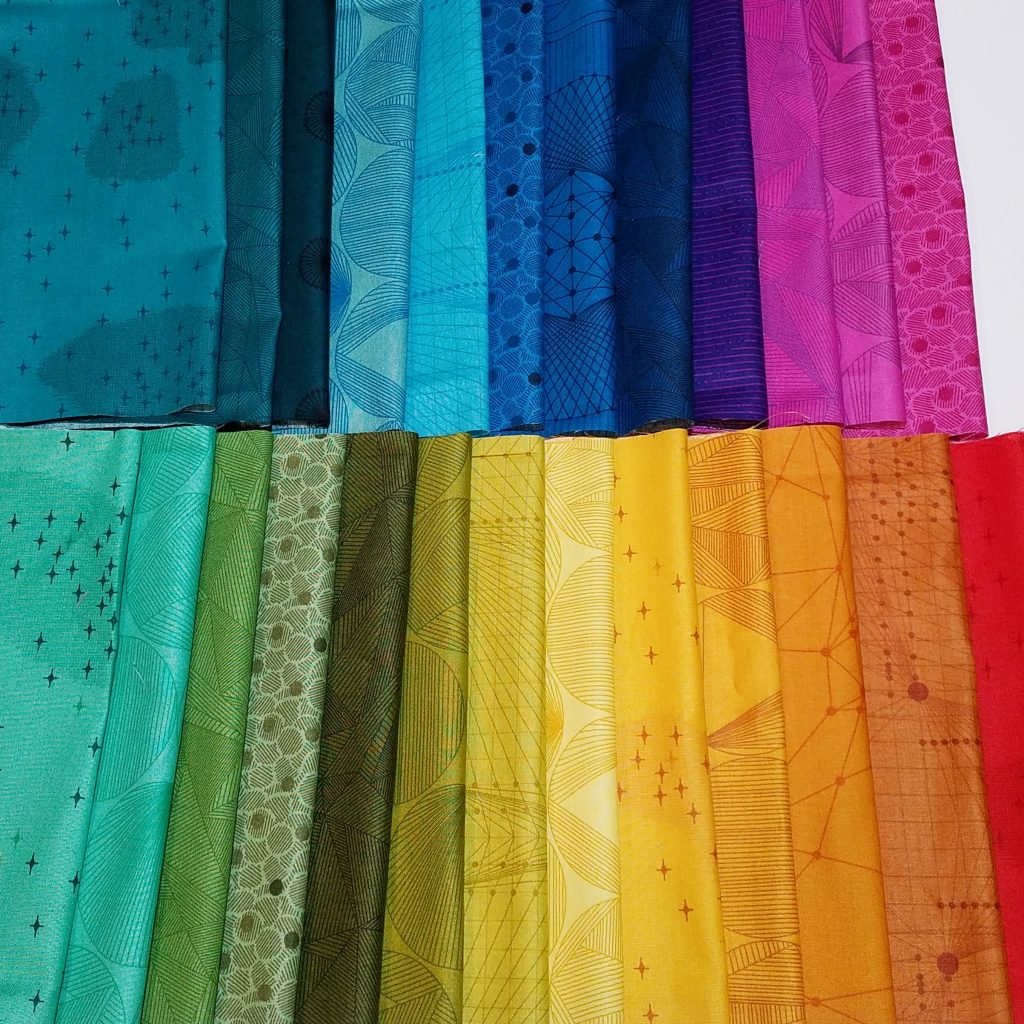
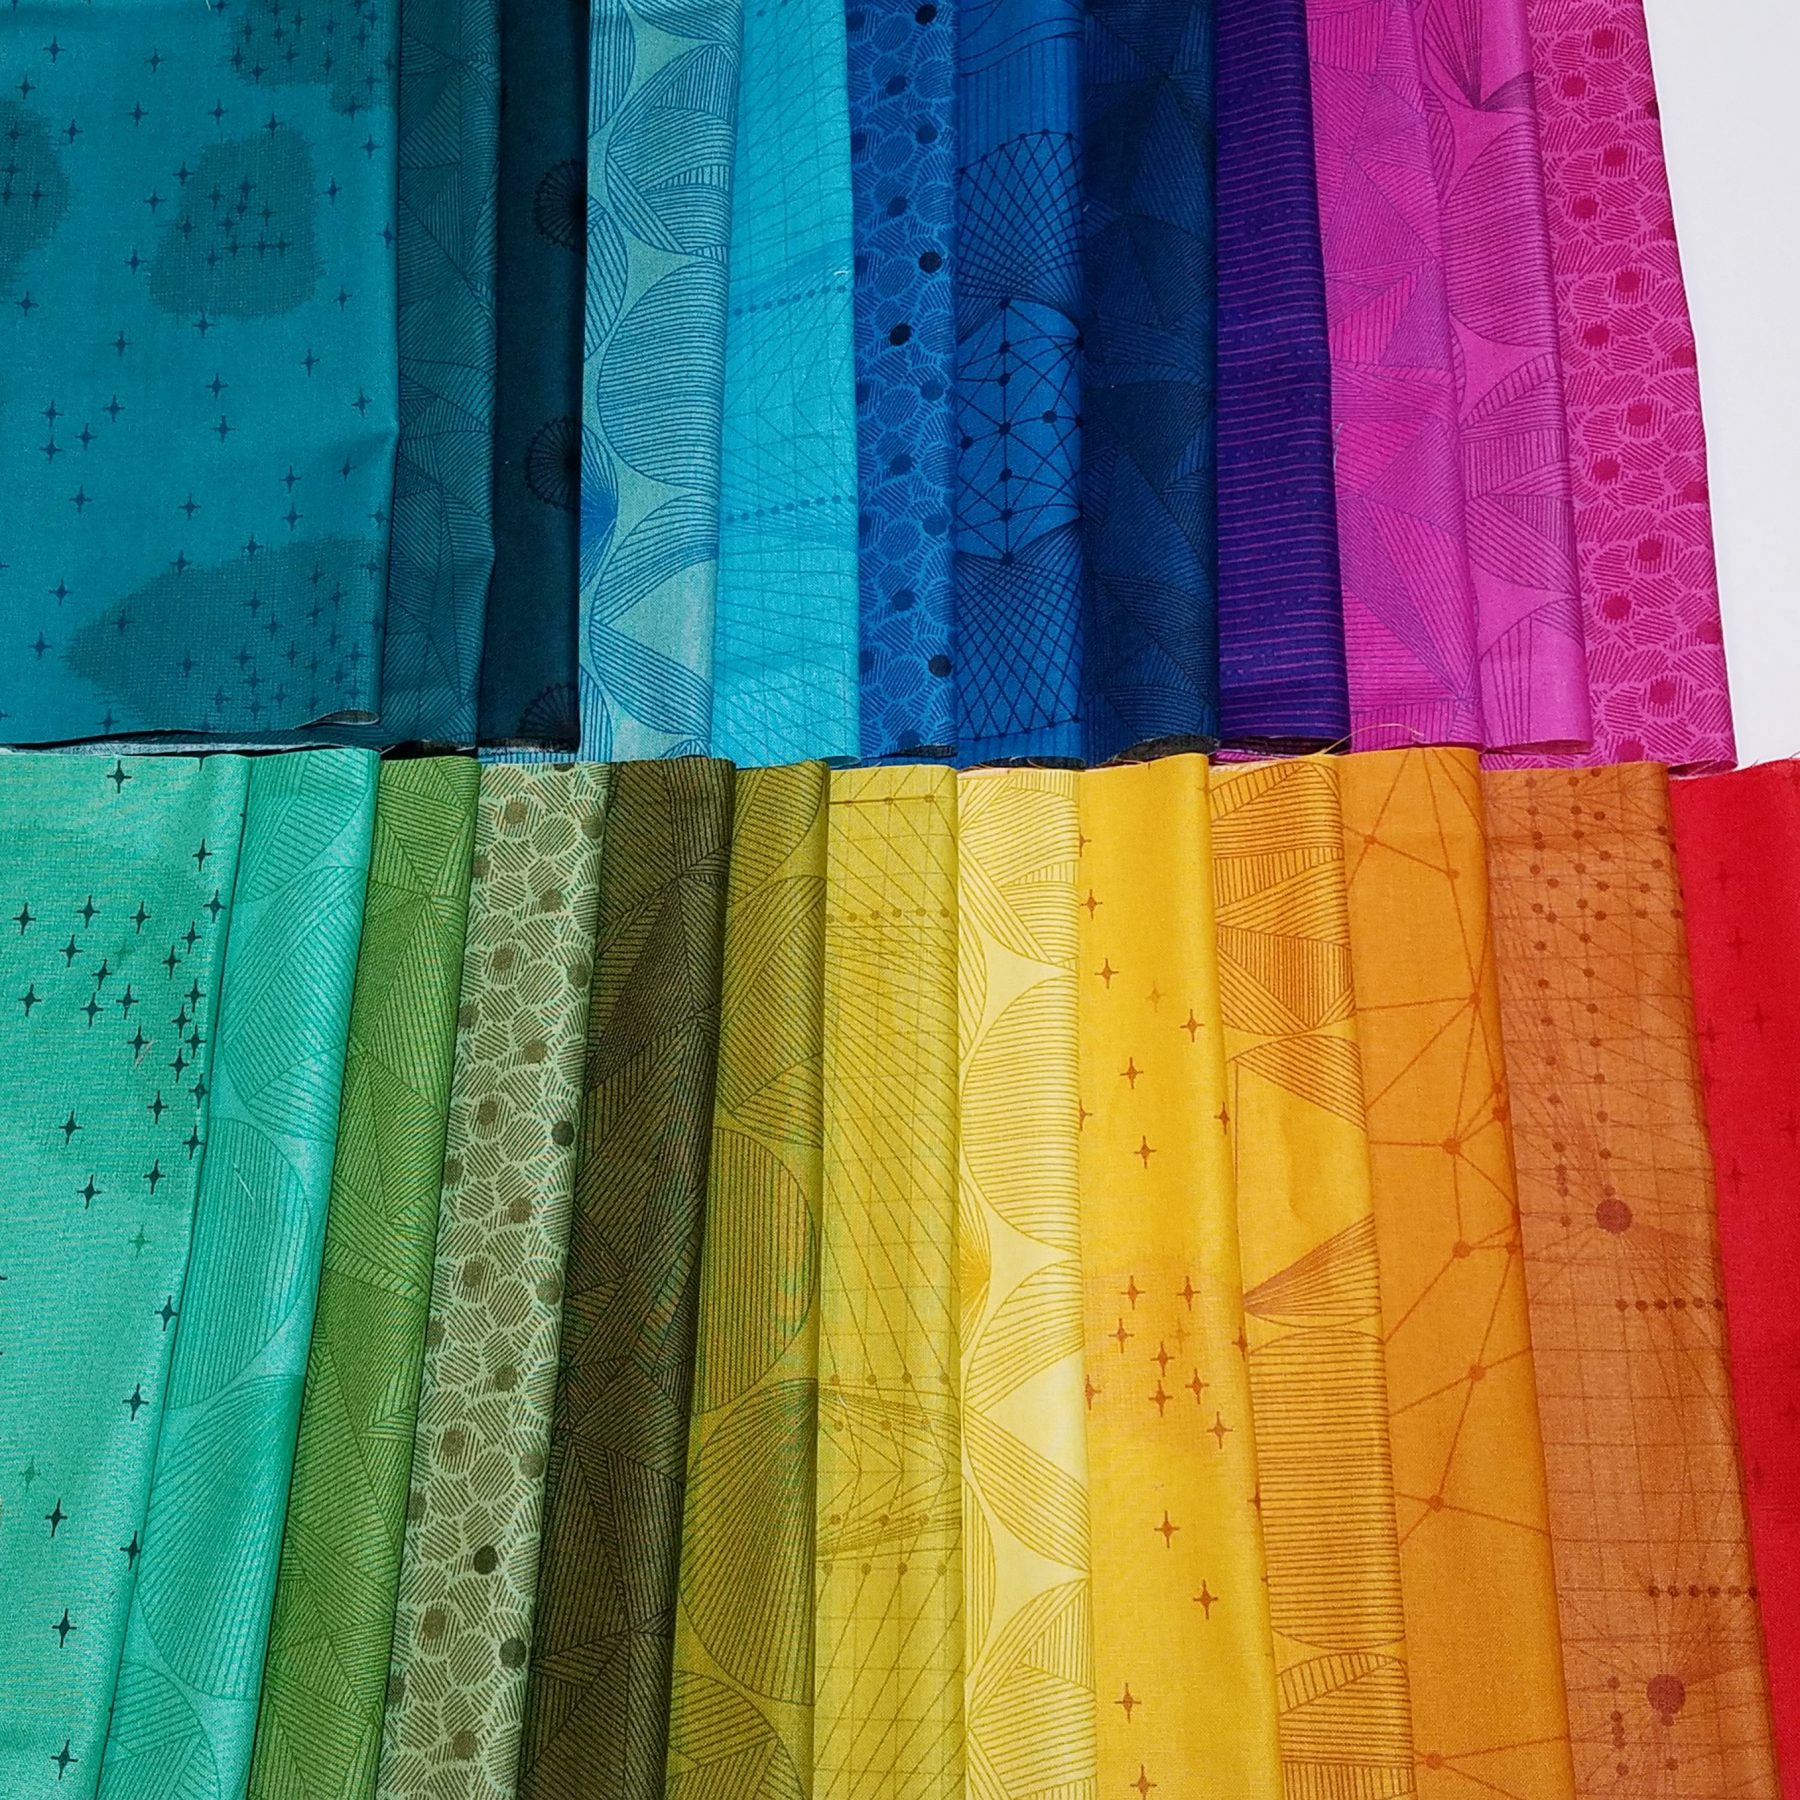
- For the house outline I'm going with 25 different colors to create the rainbow theme across my quilt. The colors are all very saturated and pretty bold, which will create consistency across the quilt.
- Here's where I'm breaking the rules. I'm not picking my heart fabrics yet. I am making the 14 inch block, which allows me to substitute the heart with other 6 inch blocks. (I talked about this in my last post.) Because I'm using a rainbow color scheme, I have a lot of freedom to work with as I go, and I'll share how I pick up this step as I make progress with the quilt. I'm not throwing this step out, I'm just putting it on hold.

Here is my house rainbow! I’m using these prints from Giucy Giuce. They are so pretty and saturated! I think they’ll really pop!
How I Would Do This Differently
Let's say I was only using the heart centers and I was only using a specific color scheme (like greens, blues, and yellow) for my quilt. Here's how I would change this up...
- I would do the same as above except for the centers. I would pick out the exact fabrics I'm going to use now and then orgaize the fabrics in the layout that I want to use them.
- I would check that the color placement and values created an overall cohesive design, changing out any fabrics that didn't fit the overal ashtetic, or perhaps were too dark or too light.
- It's always good to take a black and white picture to check value. AND you can turn your picture upside down for a better evaluation of balance across the quilt. (a good art trick!!)
Once you have your fabrics picked out and finalized, it’s time to get ready to cut! So grab your rotary cutter, cutting templates, and fabric and head over to your cutting mat! But don’t start yet! I’ll talk all about cutting templates and cutting your fabric in the next post!
How about a Giveaway?!!
Are you joining in on the Home Lovin QAL???
If so, share your coloring pages plan (either the black and white/greyscale version, or the color one – or both) on social media tagged with #fbpHomeLovin and tag me, @fromblankpages, or share in the From Blank Pages Community group on Facebook, and you’ll be entered to win a stack of the 25 prints I’m using in my quilt!
They are 10 inches x 10 inches which is the perfect amount for your house outline, plus a little extra (if you are using the cutting templates)! (scroll up to see all 25 prints!)
That means you can make a similar quilt as I am, or use them for something else entirely!
I’ll pick a winner on Friday May 31st!


