Shopping Cart

Tutorial: Starry Skyline Block – Traditionally Pieced

This tutorial originally appeared on my blog on January 13, 2012.

https://fromblankpages.blogspot.com/2012/01/starry-skyline-block-tutorial.html

Ok, whatever the name of this block is, that is what I’m calling it. I know, it’s a pinwheel. BUT looking at it for hours after making 7 of these, to me I feel like I’m looking up at the sky, with the mountains cowering to the majesty of the heavens along the skyline. Can you say cheesy??? πŸ˜‰ I don’t care. I like it. and that’s my story, and I’m sticking to it! πŸ™‚

So, ya’ll have been waiting for this, and here it is! πŸ™‚ Yahoo!

Do you want to know the best part about this block? You only have to cut out 12 squares of fabric to complete it! Awesome! No tedious triangle cutting, or cutting on the bias. All things that I don’t mind doing without. πŸ™‚ So, now that ya’ll are really excited about this, lets get started!

DISCLAIMER:Β 
Just so you know, I like to make sure that my tutorials are detailed enough to make everything very clear. I’m also a visual person, so to make up for the pictures I didn’t take or add, I try and paint a picture with words to fill in the details. If this makes it too wordy for you, I’m sorry. Just skim over it if that’s all you need. For those of you who may be new to quilting, I hope things are clear enough and make it easy enough for you to be comfortable to try it! If you have any questions please leave a comment and let me know! If it is something that may help someone else, I will reply in the comments so others can also find answers. If you have any ideas for improvements in my tutorials, please let me know!! πŸ™‚ Thanks!

Β 

Materials Needed:

    • 4 different fabrics (or more or less as desired)
    • Cutting mat & rotary cutter
    • Ruler or straight edge at least 10″ long
    • Seam ripper (WHAT?! πŸ˜‰ yes, you will be undoing a few seams – but only on purpose! πŸ˜‰ )
    • Sewing machine, thread, scissors – you know, the essentials

First, our reference block:

For reference during the tutorial I am going to refer to this picture for colors, sections, etc. 

You are free to change your block how you will, but for this tutorial we will be using 4 different fabrics.

  • Pink = Fabric A
  • Orange = Fabric B
  • Teal = Fabric C
  • White = Fabric D/background fabric

Cutting:

There are 2 sizes of squares you will cut. Β 6 inch by 6 inch and 3 7/8 inch by 3 7/8 inch.

  • Fabric A = 1 – 6 inch square
  • Fabric B = 1 – 6 inch, 2 – 3 7/8 inch
  • Fabric C = 4 – 3 7/8 inch
  • Fabric D = 2 – 6 inch, 2 – 3 7/8 inch

Β 

Here are the fabrics I am using for this tutorial

Β 

Now do a happy dance that you don’t have to spend any more time cutting! πŸ˜‰

I am going to split this up into a few sections. Each section will cover instructions for each different fabric. We’ll start from the outside and work toward the middle – completing the 12 squares and then finishing by joining those.

Β 

Section 1:

First we’ll make the outside 4 corners. These are the easiest and will lead into the other blocks. (Not that any are hard, but you’ll see what I mean.)

First, Take your big Fabric A fabric and one big Background fabric and place them right sides together.

Β 

Now, sew all the way around them. Yes, that’s right, don’t leave any openings. Turn at each corner 1/4″ from the edge.

It should look like this when finished. See the seams all the way around?

Β 

Β 

Now you will very carefully take your ruler, lining it up exactly through the middle on the diagonal

Β 

and cut!

Then turn your cutting board, being careful not to move the pieces, and cut again the other way so you will have four exact triangles.

Open them up and press the seams open.You now have 4 HST’s (Half Square Triangles)

You will be using two of these now and two later. (I will refer to these as NOW and LATER blocks – did you ever eat that candy when you were a kid. I don’t know how I ate it, it was so hard and sticky! oops. not on topic, sorry.)

Take two of your small Background fabrics and with chalk, or a marking pen (sometimes I use a bic pen – oops! don’t tell the quilting police!), or I’ve seen people crease it down the middle to mark the center – and line your ruler exactly through the center on the diagonal and mark.

Next, line those up on top of your HST’s you previously made, so the marking you made is perpendicular to the line joining your two fabrics. (just look at the picture!) πŸ˜‰

Now sew them together, using the line as a GUIDE, sewing 1/4″ to the side of it. (This is where I always mess up. I always tend to start sewing ON the line. don’t do that.) πŸ™‚

When you get to the end of that, pull it out just a little, turn it around and sew along the other side.

It should now look like this, with two seams, one on each side of the line

Β 

Now take your ruler and cut it carefully right down the center (now you want to cut ON the line you drew)

Open up your blocks now and press the seams open. You should now have two blocks that look like this:

Repeat with the other NOW Block that you made first and the small Background block. You should then have 4 blocks that look like this

Congrats! You just finished section 1! If you can make these, you can make the rest!
Just pay attention to a few slight changes in each of the following sections.

Section 2:

In Section 2 and 3 we will be working with the 2 LATER blocks and the small Fabric B blocks.

Just like we did in Section 1, take your small Fabric B blocks, and on the wrong side, mark down the middle on the diagonal.

VERY IMPORTANT: When you line up the Fabric B block with the HST, MAKE SURE that the Fabric A is at the TOP! Just like in the picture

You will then need to sew along the LEFT side of the center line ONLY! I hope you can see how in the pictures the seam is ONLY on the left side. Repeat with the other LATER block. (see the next picture for more detail)

This orientation is very important: Fabric A is at the TOP, seam sewn on the LEFT

Next carefully line you your ruler, and cut down the center. It’s important that you cut very carefully since the right side is not yet sewn together.

We will work with the right side of these blocks in Section 3

Open the left pieces and press seams open. You now have two more blocks completed! And are done with Section 2! Big pat on the back! πŸ™‚

Section 3:

In this section we are going to work on the right side of the two blocks you worked with in Section 2. Once you understand this small step here you will have the rest of the block mastered! Ready?!
Β 
Β 
The thing that we have to fix in this step is the orientation of the Fabric A and the Background fabric in the small HST. See how the Fabric A is on the bottom? If we finished the blocks just like this, the fabrics would be in the wrong place.

Β 

They need to look like the top block, not the bottom

Want to know an easy way to fix that? Take the small HST with the Fabric A, and fold it back up! Make sure to carefully line up the fabrics so the Fabric A and Background fabric are exactly on top of each other. This SHOULD be super easy because the two fabrics are still sewn together at the top.

See the seam that is along the top edge?

Β 

Now take the triangle and sew down the other short side like so (notice how the Background fabric is on top?)

Β 

Repeat with the other HST piece

If you keep them oriented the same way you had them when you just sewed them (with the background fabric on top) it makes it easier to remember which seam to take out. Now it’s time to get out the trusty seam ripper. (Don’t worry, it’s not because you messed up, I just think this makes this a little easier since we are now dealing with bias cuts.) And UNPICK the TOP seam – not the one you just sewed.
When you open it up it should now look like this

with Fabric A on top! Easy peasy right?!

Β 

Now lay the two pieces, right sides together

Β 

Make sure the Fabric A is on the top now and sew along the edge

Congrats! You should now have all of these blocks finished!! It’s ok to smile. πŸ˜€

Section 4:

In Section 4 we are going to start working with our Fabric C! Yippy! πŸ˜‰ This is almost an exact repeat as Section 2, but with ONE VERY IMPORTANT DIFFERENCE! So no snoozing. πŸ˜‰

First we need to make all of the small HST’s with Fabric B. Take your Big Fabric B piece and the Big Background fabric and place right sides together.

Β 

Just like before, sew all the way around with a 1/4″ seam allowance.

Β 

Just like before, cut the big square into 4 triangles (see Section 1 for pictures). Open and press those HST’s. We will then be working with these and the 4 small Fabric C squares .

Again, mark down the center of the Fabric C small squares on the diagonal. – on the WRONG side of the fabric.

VERY IMPORTANT: Here is where it is different than Section 2!!! When you line up your Fabric C square the your Fabric B HST, make sure the Fabric B is on the BOTTOM! As in the picture.

Sew ONLY along the left side of your marking line, with Fabric B on the BOTTOM!

See?! Sewn ONLY on the left, with Fabric B on the bottom. Check! Good job! πŸ˜‰

Repeat with the other blocks, and cut carefully down the center of each ON the line you drew. You should end up with 4 triangles that are sewn and 4 un-sewn (with Fabric B on the bottom)

Open up the four blocks that have been sewn and press. Voila! Your block should now look like this! Wow! Looking good! πŸ˜‰

p.s. Don’t pay attention to my un-ironed blocks. I finger press them until I’m done with all of them and then I iron them before sewing them all together.

Section 5:

Hooray! It’s the last section! This is a lot like Section 3! Yes, we’ll need to use our trusty seam rippers again, but our fabrics will be a little different, so don’t go read Section 3 to finish this, or your fabrics will be in the wrong place. πŸ™‚

We will be working with the remaining 4 Fabric B HST’s and the Fabric C triangles

Β 

Like before, fold over your HST’s, and with the seam on the top, sew along the other short side of the triangle with a 1/4″ seam. (Notice how this time the Fabric B is on top? Just a difference that is useful to be aware of when you make a lot of these at once.)

You should have 4 triangles that look like this, with seams across the top and bottom. Using your seam ripper, take out ONLY the TOP seams (not the seams you just sewed).

Your Fabric B will now be on the bottom instead of the top. Like before, lay your Fabric C on top, right sides together and sew along the long edge with 1/4″.

Repeat this with the remaining blocks. You have now completed ALL of your blocks! Wahoo!!

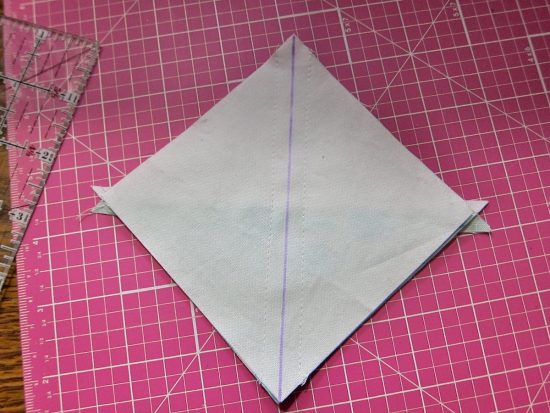
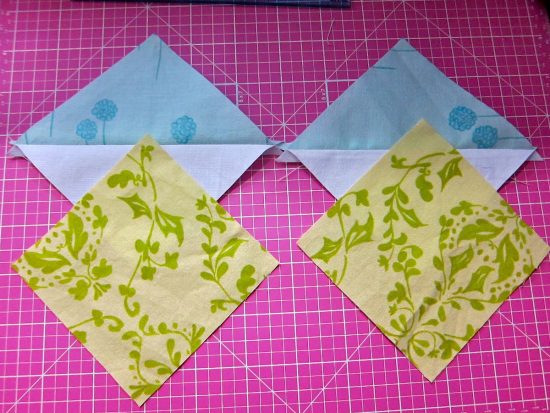
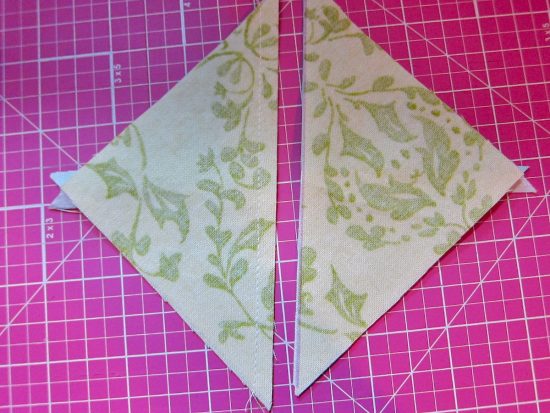
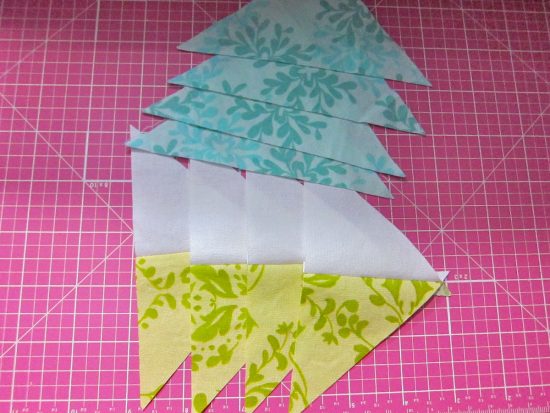
Now make sure to iron all your pieces if you haven’t already.Β 
I find it easier to match up my blocks if I sew them together in blocks. (sorry I don’t have any pictures of this.) Iron the seams open after each step.
Β 
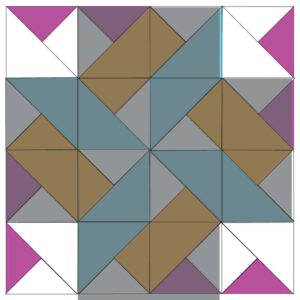
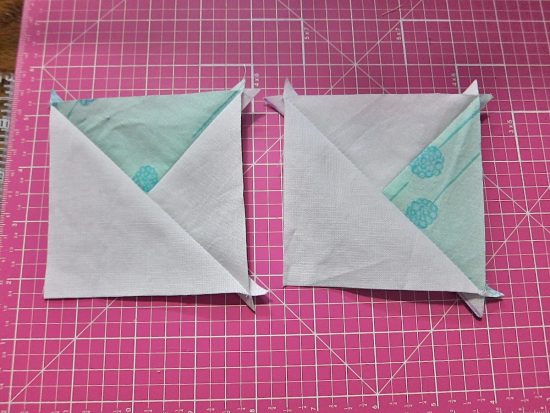
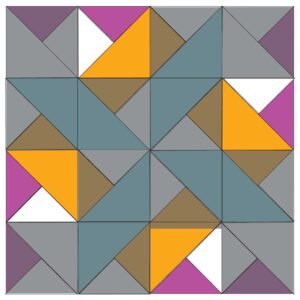
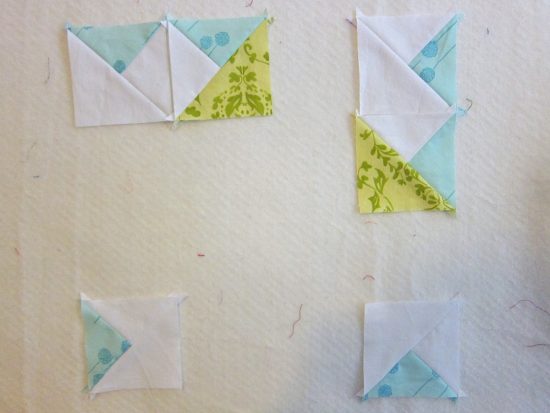
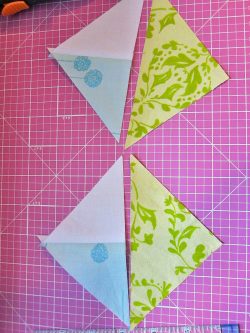
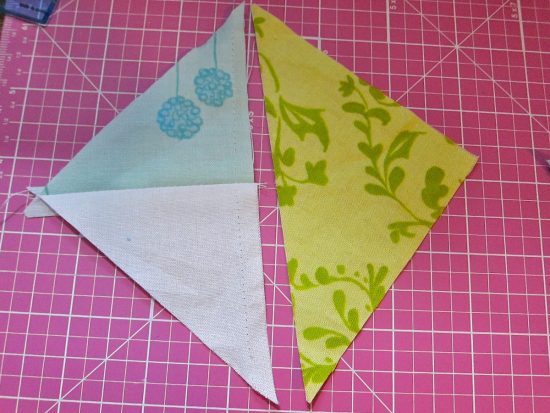
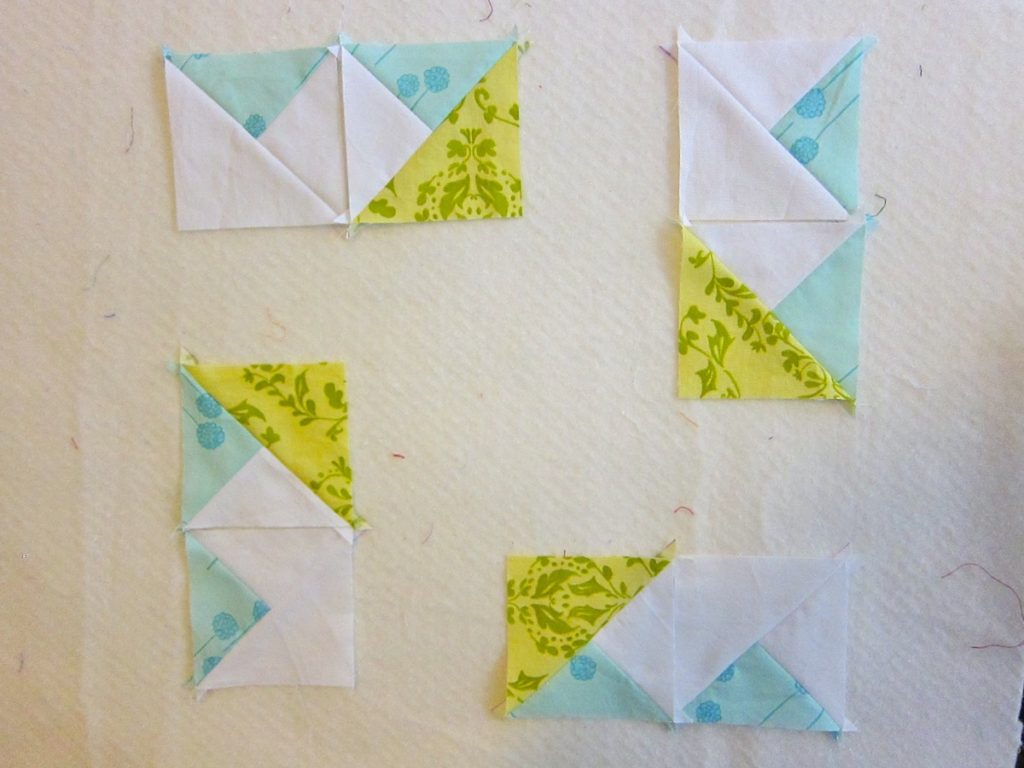
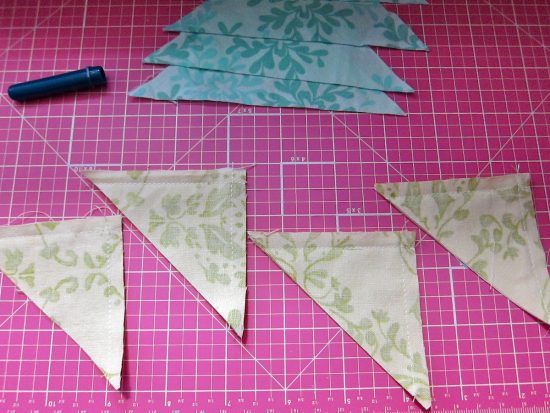
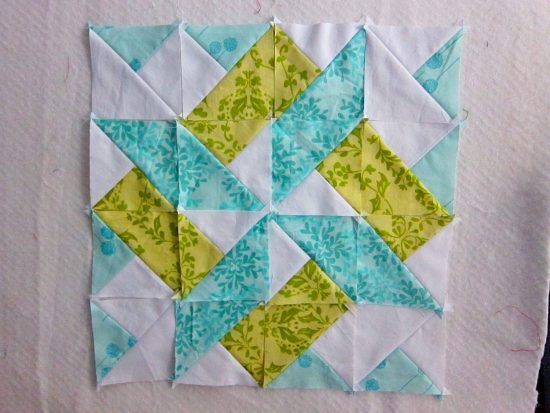
First, sew the blocks in pairs – each block and the one next to it. Repeat with all blocks. You will then have 8 *blocks*.
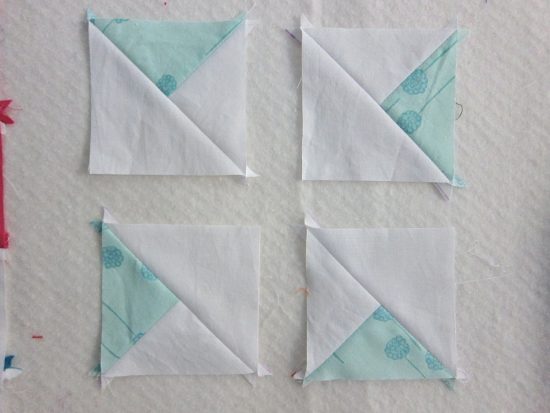
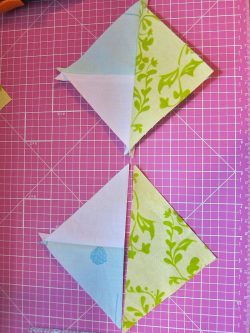
Next I like to sew each block of two to the block underneath it. Do this with all of them until you have 4 blocks that are 2 across, 2 down.
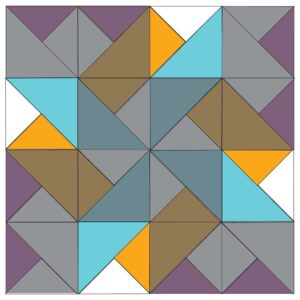
Then sew two of those together, and then those two halves together.
Β 
Β 
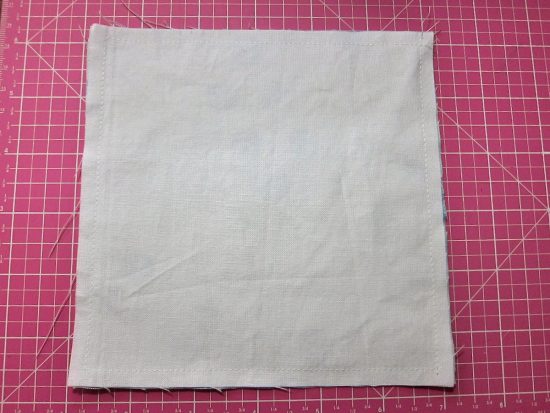
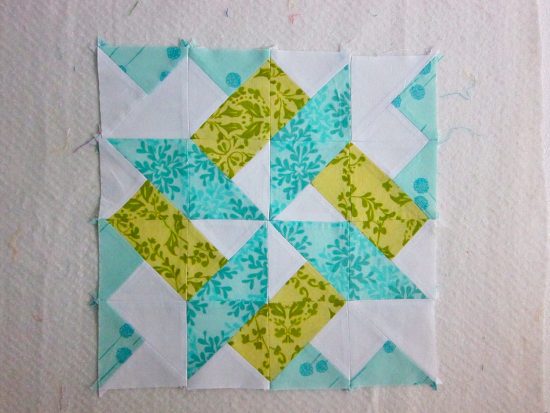
***The reason I do it like this is because I find it easier to match the seams when I only have to match one or two seams. The more seams I have to match, as in a whole row, the harder is to get them ALL in the right spot. If you find that one block is short, or a little longer, it’s ok to tug and pull a little bit as you sew to get everything lined up. I find when I do my final ironing (ironing the seams open on the back, and then a nice pressing on the top) everything lines up just right! πŸ™‚
Β 
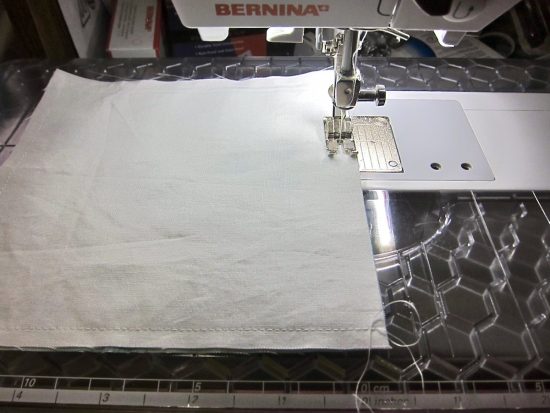
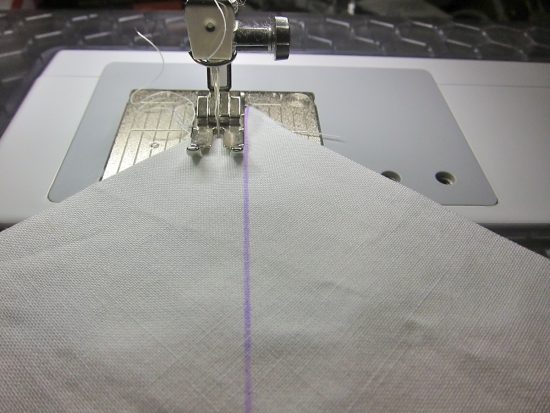
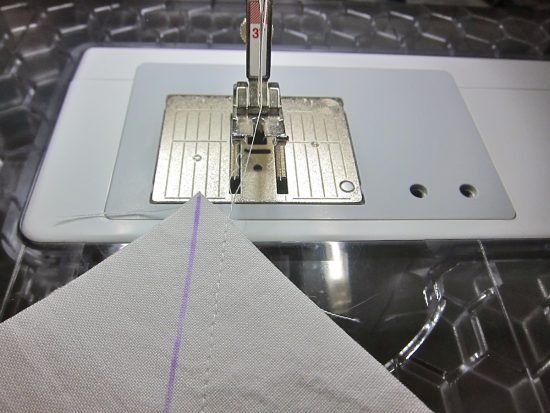
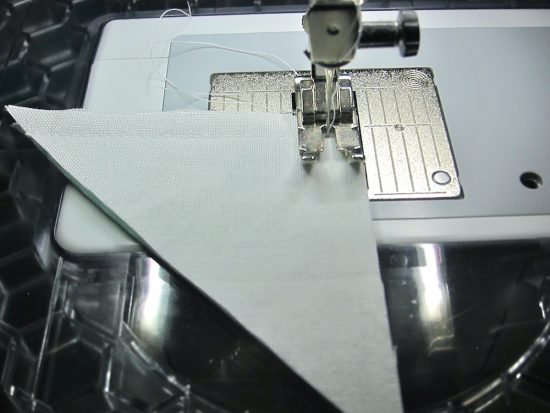
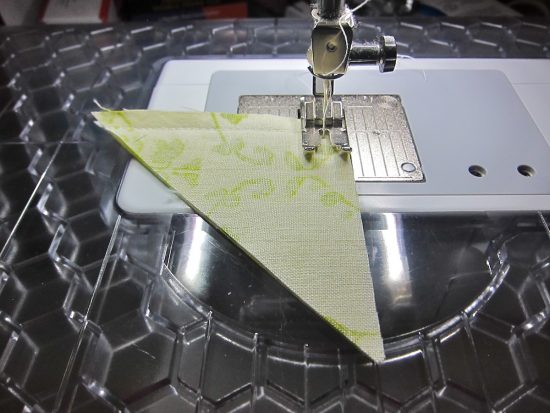
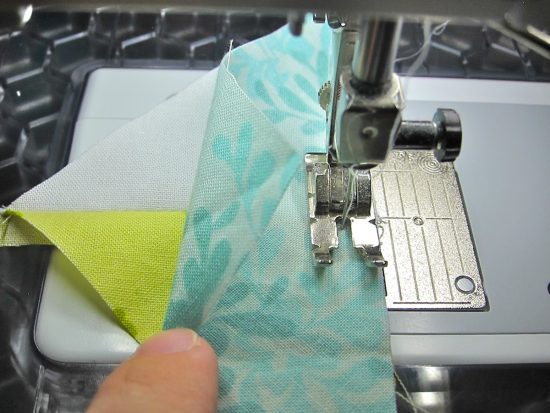
***Another tip while connecting all your blocks, set your machine so your needle stops in the down position! Or, if you don’t have that feature, every time you stop, put your needle down. This keeps everything in the right spot, especially if you’re doing a little tugging along the way; or as you stop to adjust your fabric as needed.
Β 
Β 

Β 

Your block should now be as beautiful as can be!!

Thank you so much for following along with me in this block!!! I had fun, and I hope you do too!
If you have ANY questions or problems, please ask! If your questions are something that may be helpful to someone else, I’ll answer them in the comments, otherwise I will respond through email (unless you have a no-reply account). So if you don’t hear from me, check back here. πŸ™‚

Β 

If you make this block I would LOVE LOVE love to see it! You can upload it in my blog flickr group hereΒ (it’s a pretty bare group and needs some company. lol) facebook group here: https://fbpcommunity.com, or post the link in the comments! πŸ™‚
Β 
Thanks again! Have a great weekend!