Well, I should have not tinkered with the schedule because life happened, and here I am posting this a bit behind. But that’s ok… we all fall behind, and then we catch back up. Right?! The continual ebb and flow of life…
So here we are again, back at the center of the universe – our sewing machines. Haha! Ok, maybe our sewing machines are the center of the universe, but they are often Zen central. (am I the only one?! I’ll assume I’m not.)
Assemble the Center
This week the plan is to assemble the center section and finish the quilt top.
There are just a few places I’d suggest paying particular attention to as you join your blocks and rows.
In my personal opinion I think that the most important aspect of sewing blocks together is matching the seams together. Because during the final stages of completing a quilt (basting, quilting, etc.) there is nothing you can do to fix misaligned seems. But if your quilt is a little wavy, you can quilt over it, wash it – which makes the entire quilt wavy and crinkly, and those things don’t show up really at all once you’re done (as long as it’s not out of control!!). But you can’t hid those mismatched seams.
Does that mean all my seams are perfect? No. It doesn’t. I do my best but I don’t stress over it. I love to quilt, but perfection is not something I bring into my quilt making process. Quilting to me is a stress release, and a pressure free zone, so while I take my pattern designing and writing very seriously, my personal quilting does not fall in the same category. Is that bad?? (I will be the first to admit that I am a perfectionist rebel! I will not follow the trend of putting on a perfect show. I am grateful for those who do provide the beautiful visual atmospheres, but for now, that’s not me… ok. anyway.) 🙂
Alright, back to my tips…
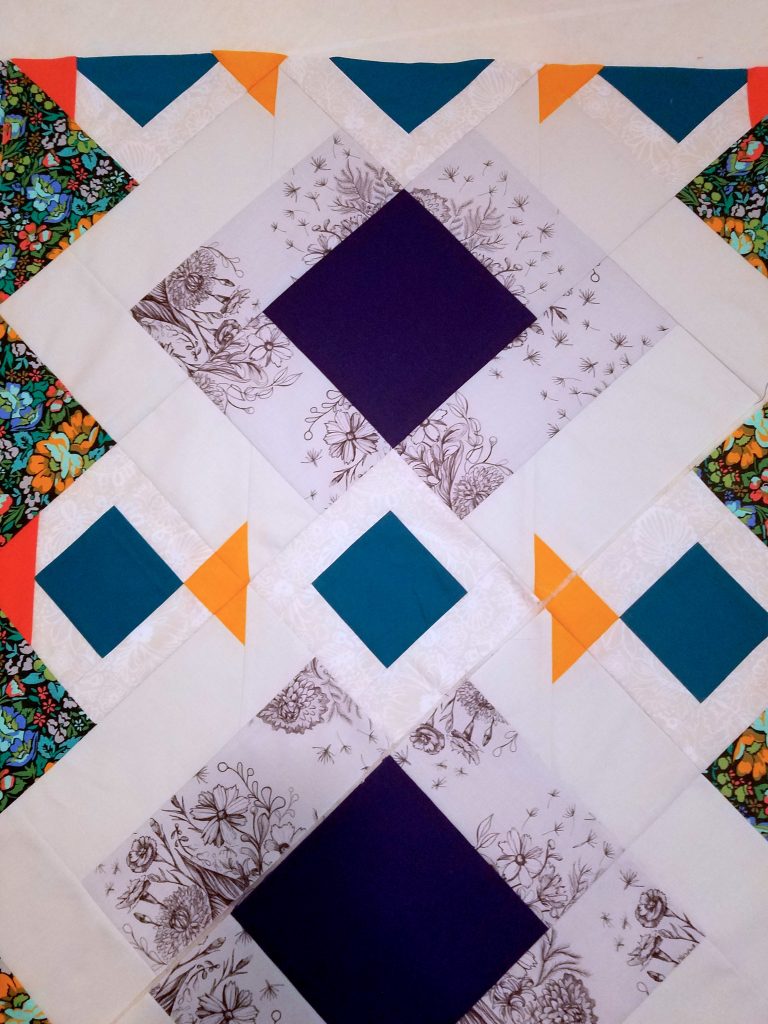
Here are the places where I want to point out to pay attention to when matching seams:
- There are 3 seams that need to match for the little inside triangle
- Where the fabric E rectangles meet up
- And where block B meets up with the setting triangle.
You can use this first picture as a reference to where I’m pointing to in the other photos.
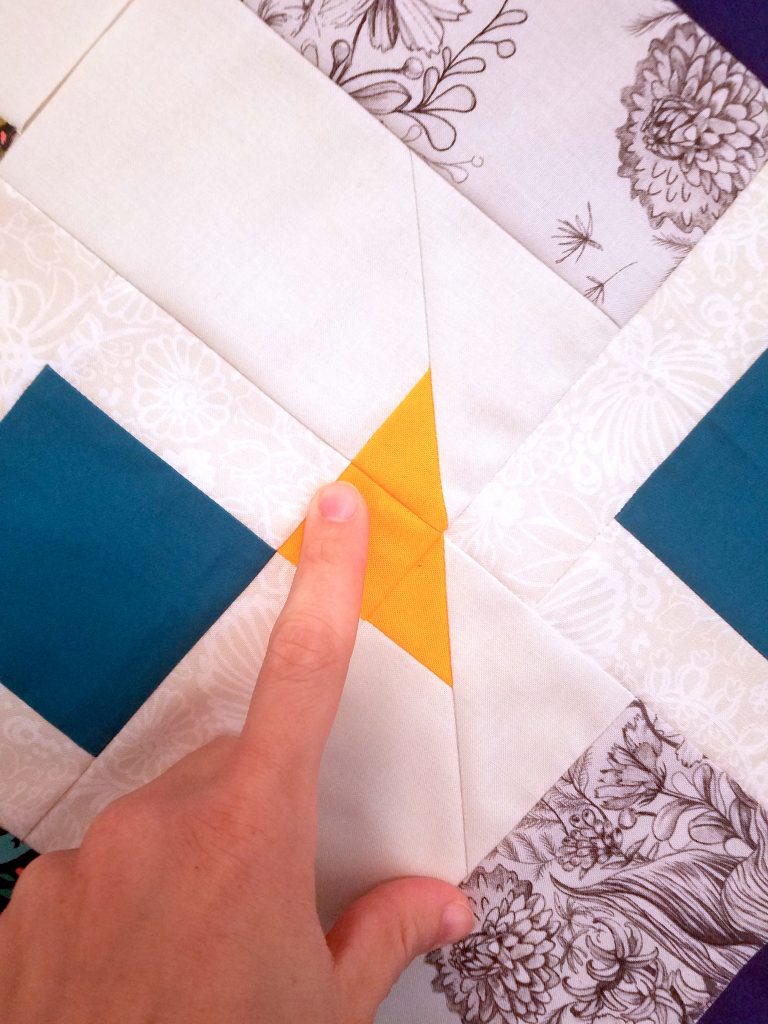
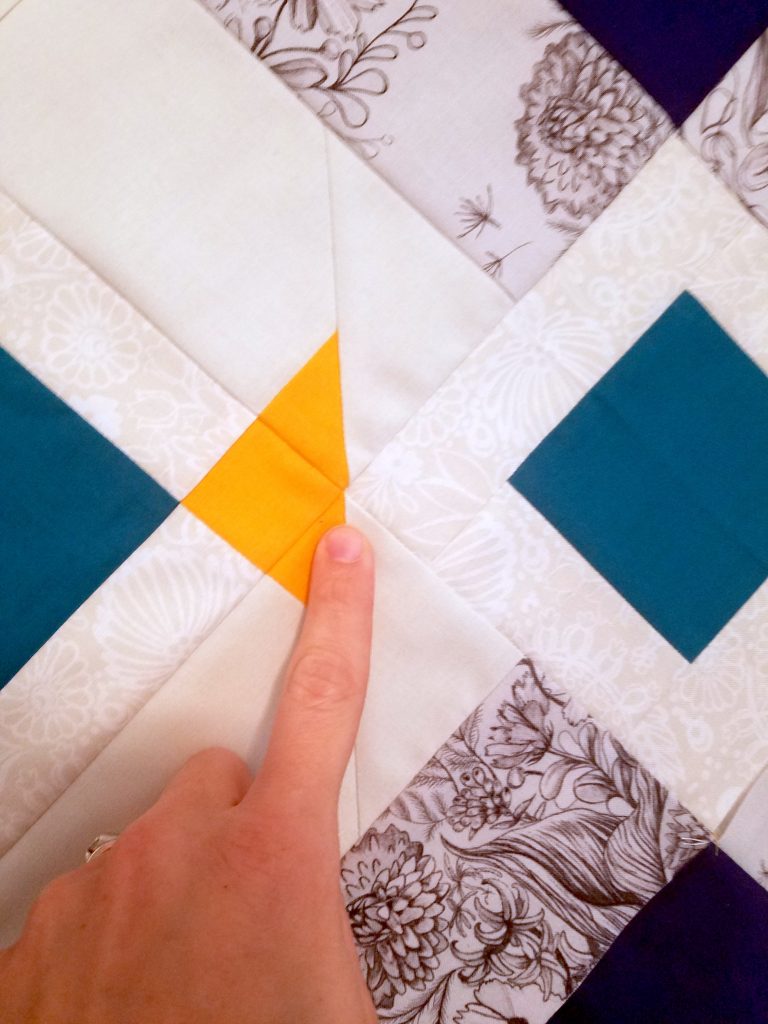
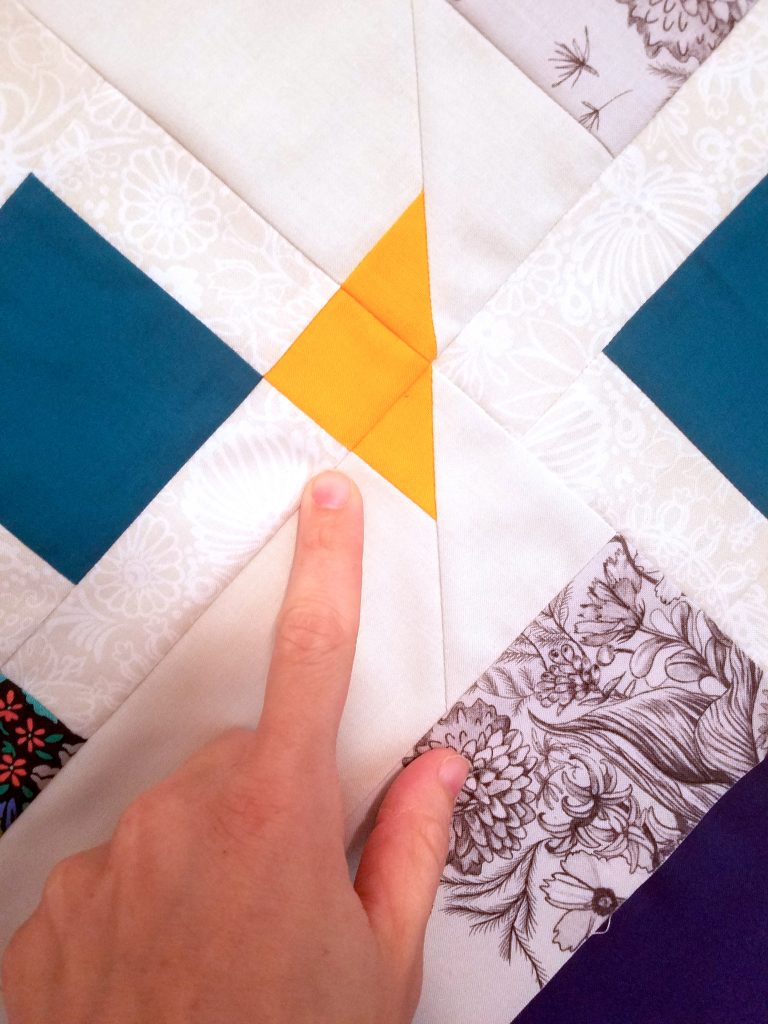
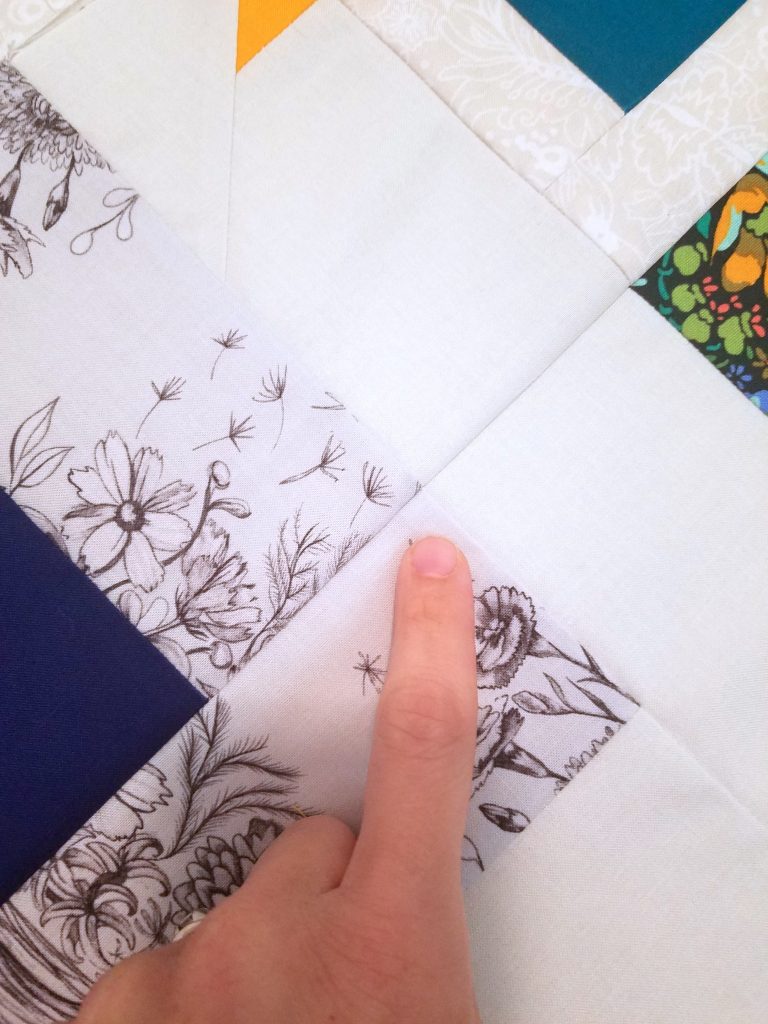
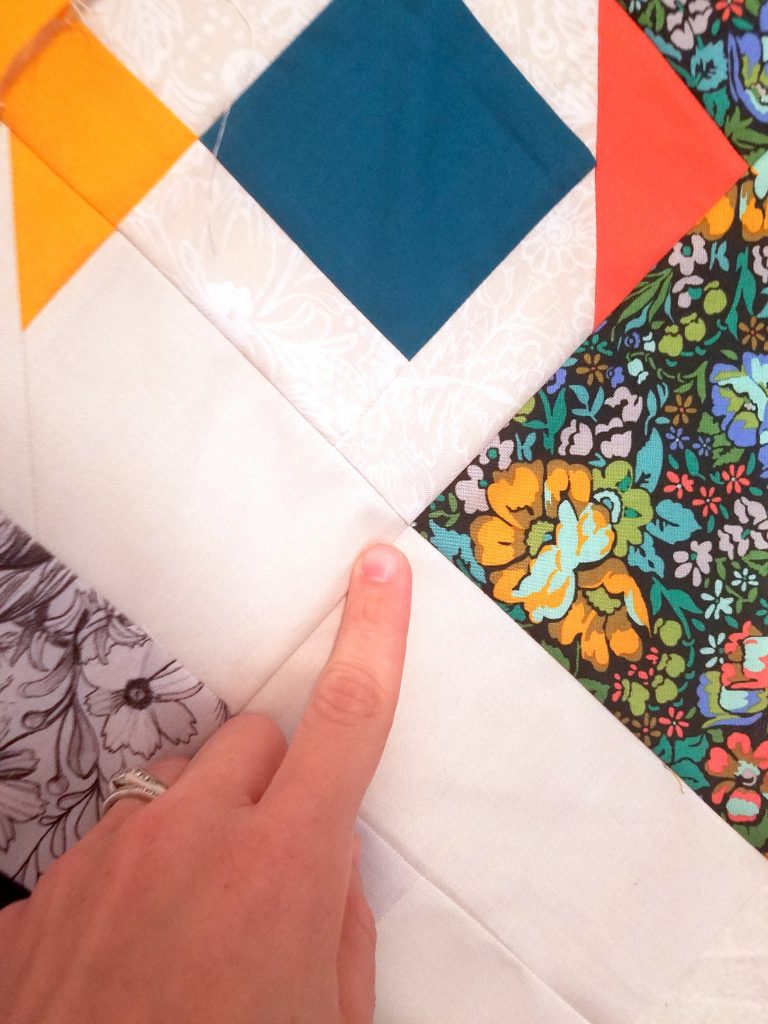
I like to pin my blocks in these places first to make sure the points will align once everything is sewn together. Here are some progress photos I took to as I pinned my rows together you so you see how I do it.
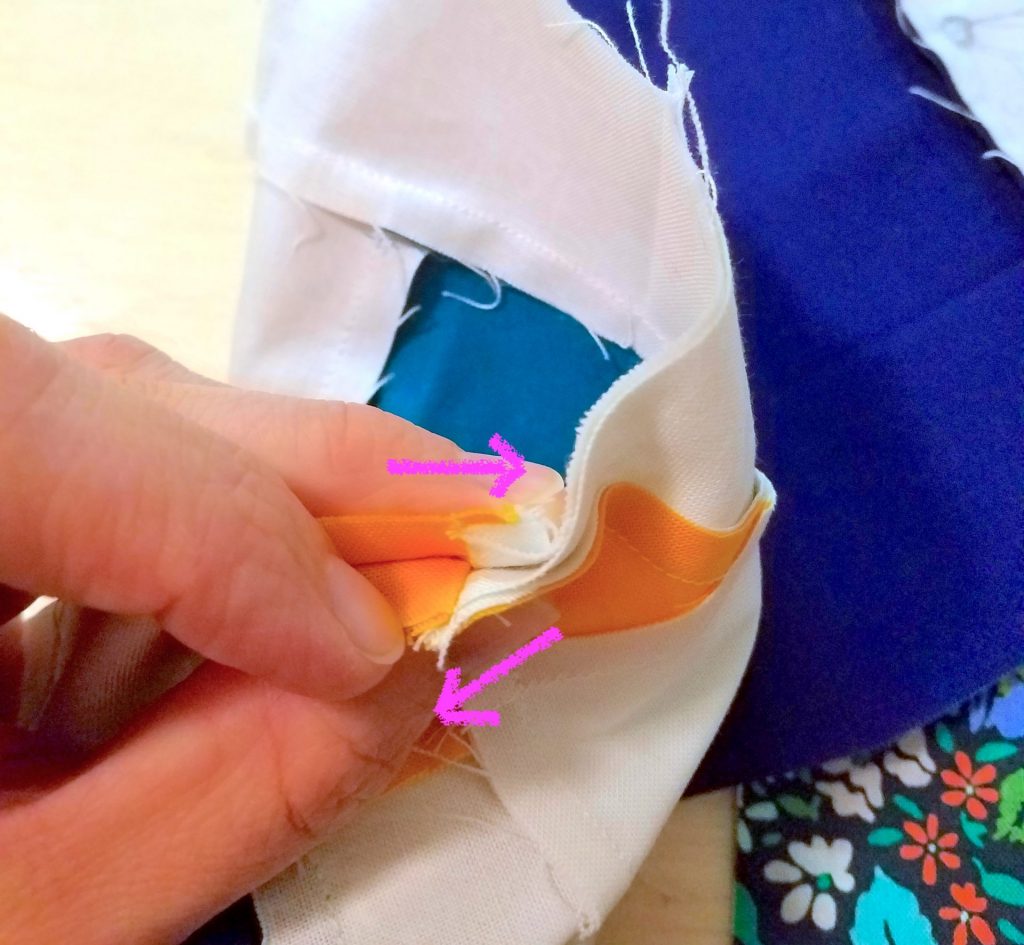
First I align the seams and make sure they are lining up. For this seam I am nesting the seams (which is like butting up together).
The arrows show which way the seams are pressed, and when they are in opposite directions, you can “nest” the seams, or sit them right into each other, to line them up.
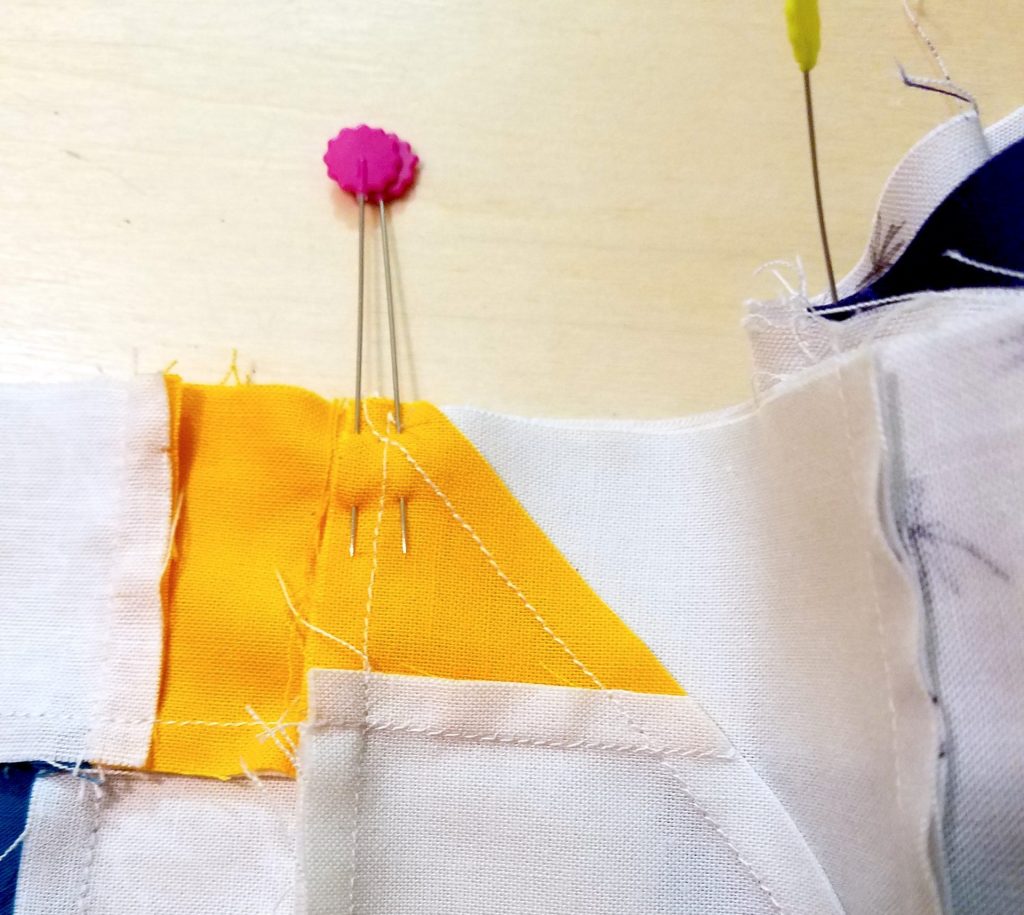
When I know the seams are aligned I pin on both sides of the seam so that both of the seam allowances are pinned down into place.
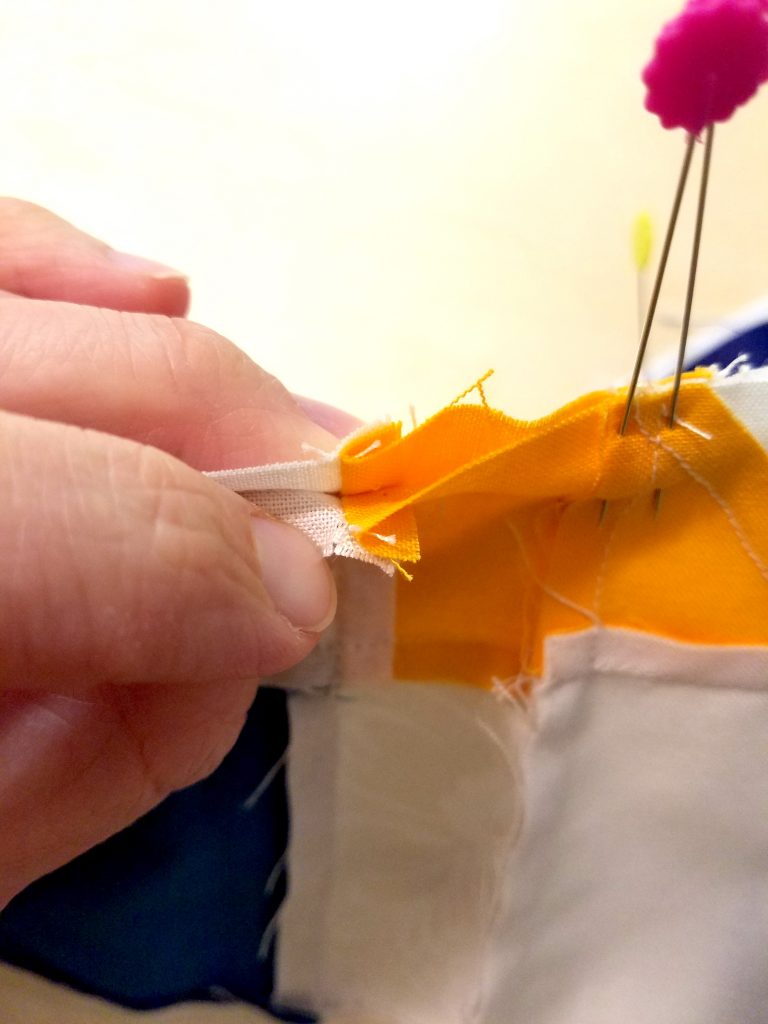
For this next seam, my seam allowances are in the same direction, which is also ok, but it will make the seam bulkier there where they meet, which isn’t ideal. What you can do is press one seam in the opposite direction and nest the seams.
Though that isn’t always an option, especially with paper piecing. So for this example, I simply line up the seams so they are exactly matching up, and then I pin in place.
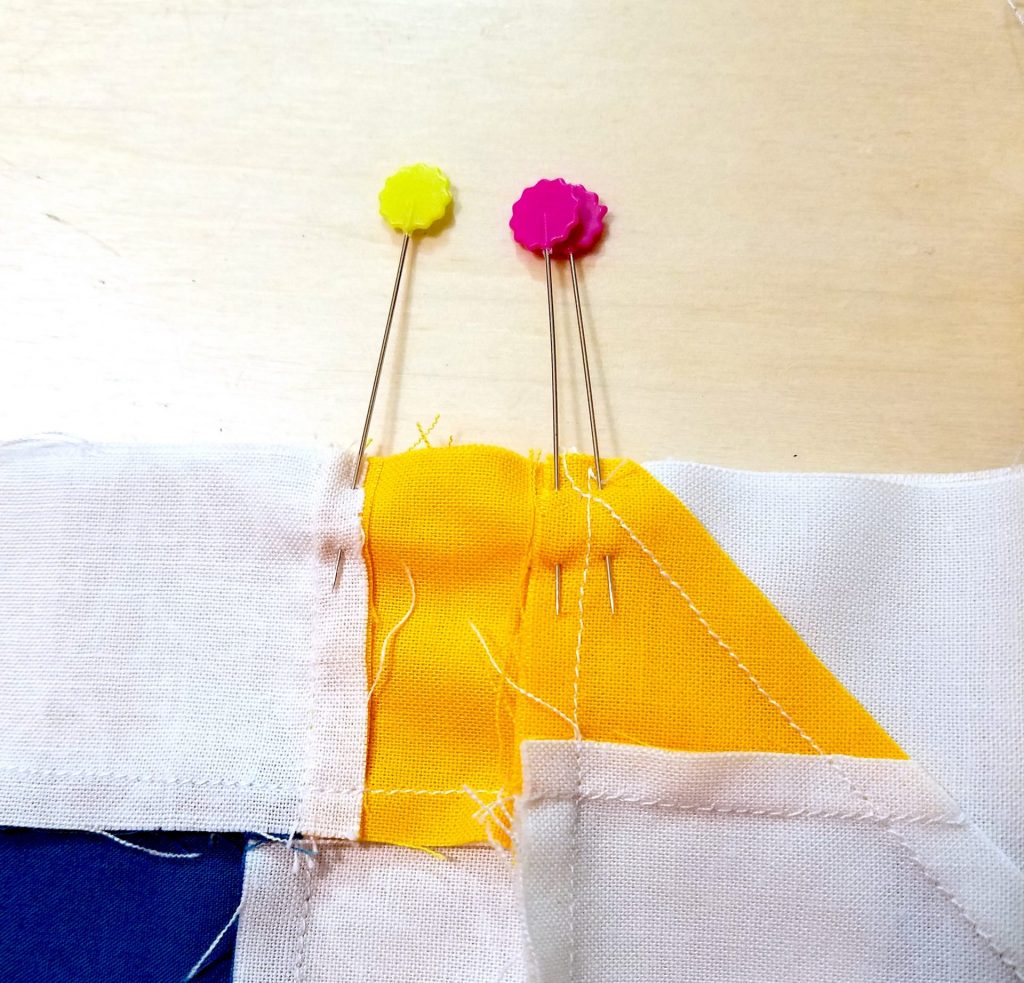
Because all of my seam allowances are on one side, I only pin on one side. But you can still pin on both sides if you want that extra assurance that it won’t shift while you sew.
Repeat with any other seams you need to align.
Progress
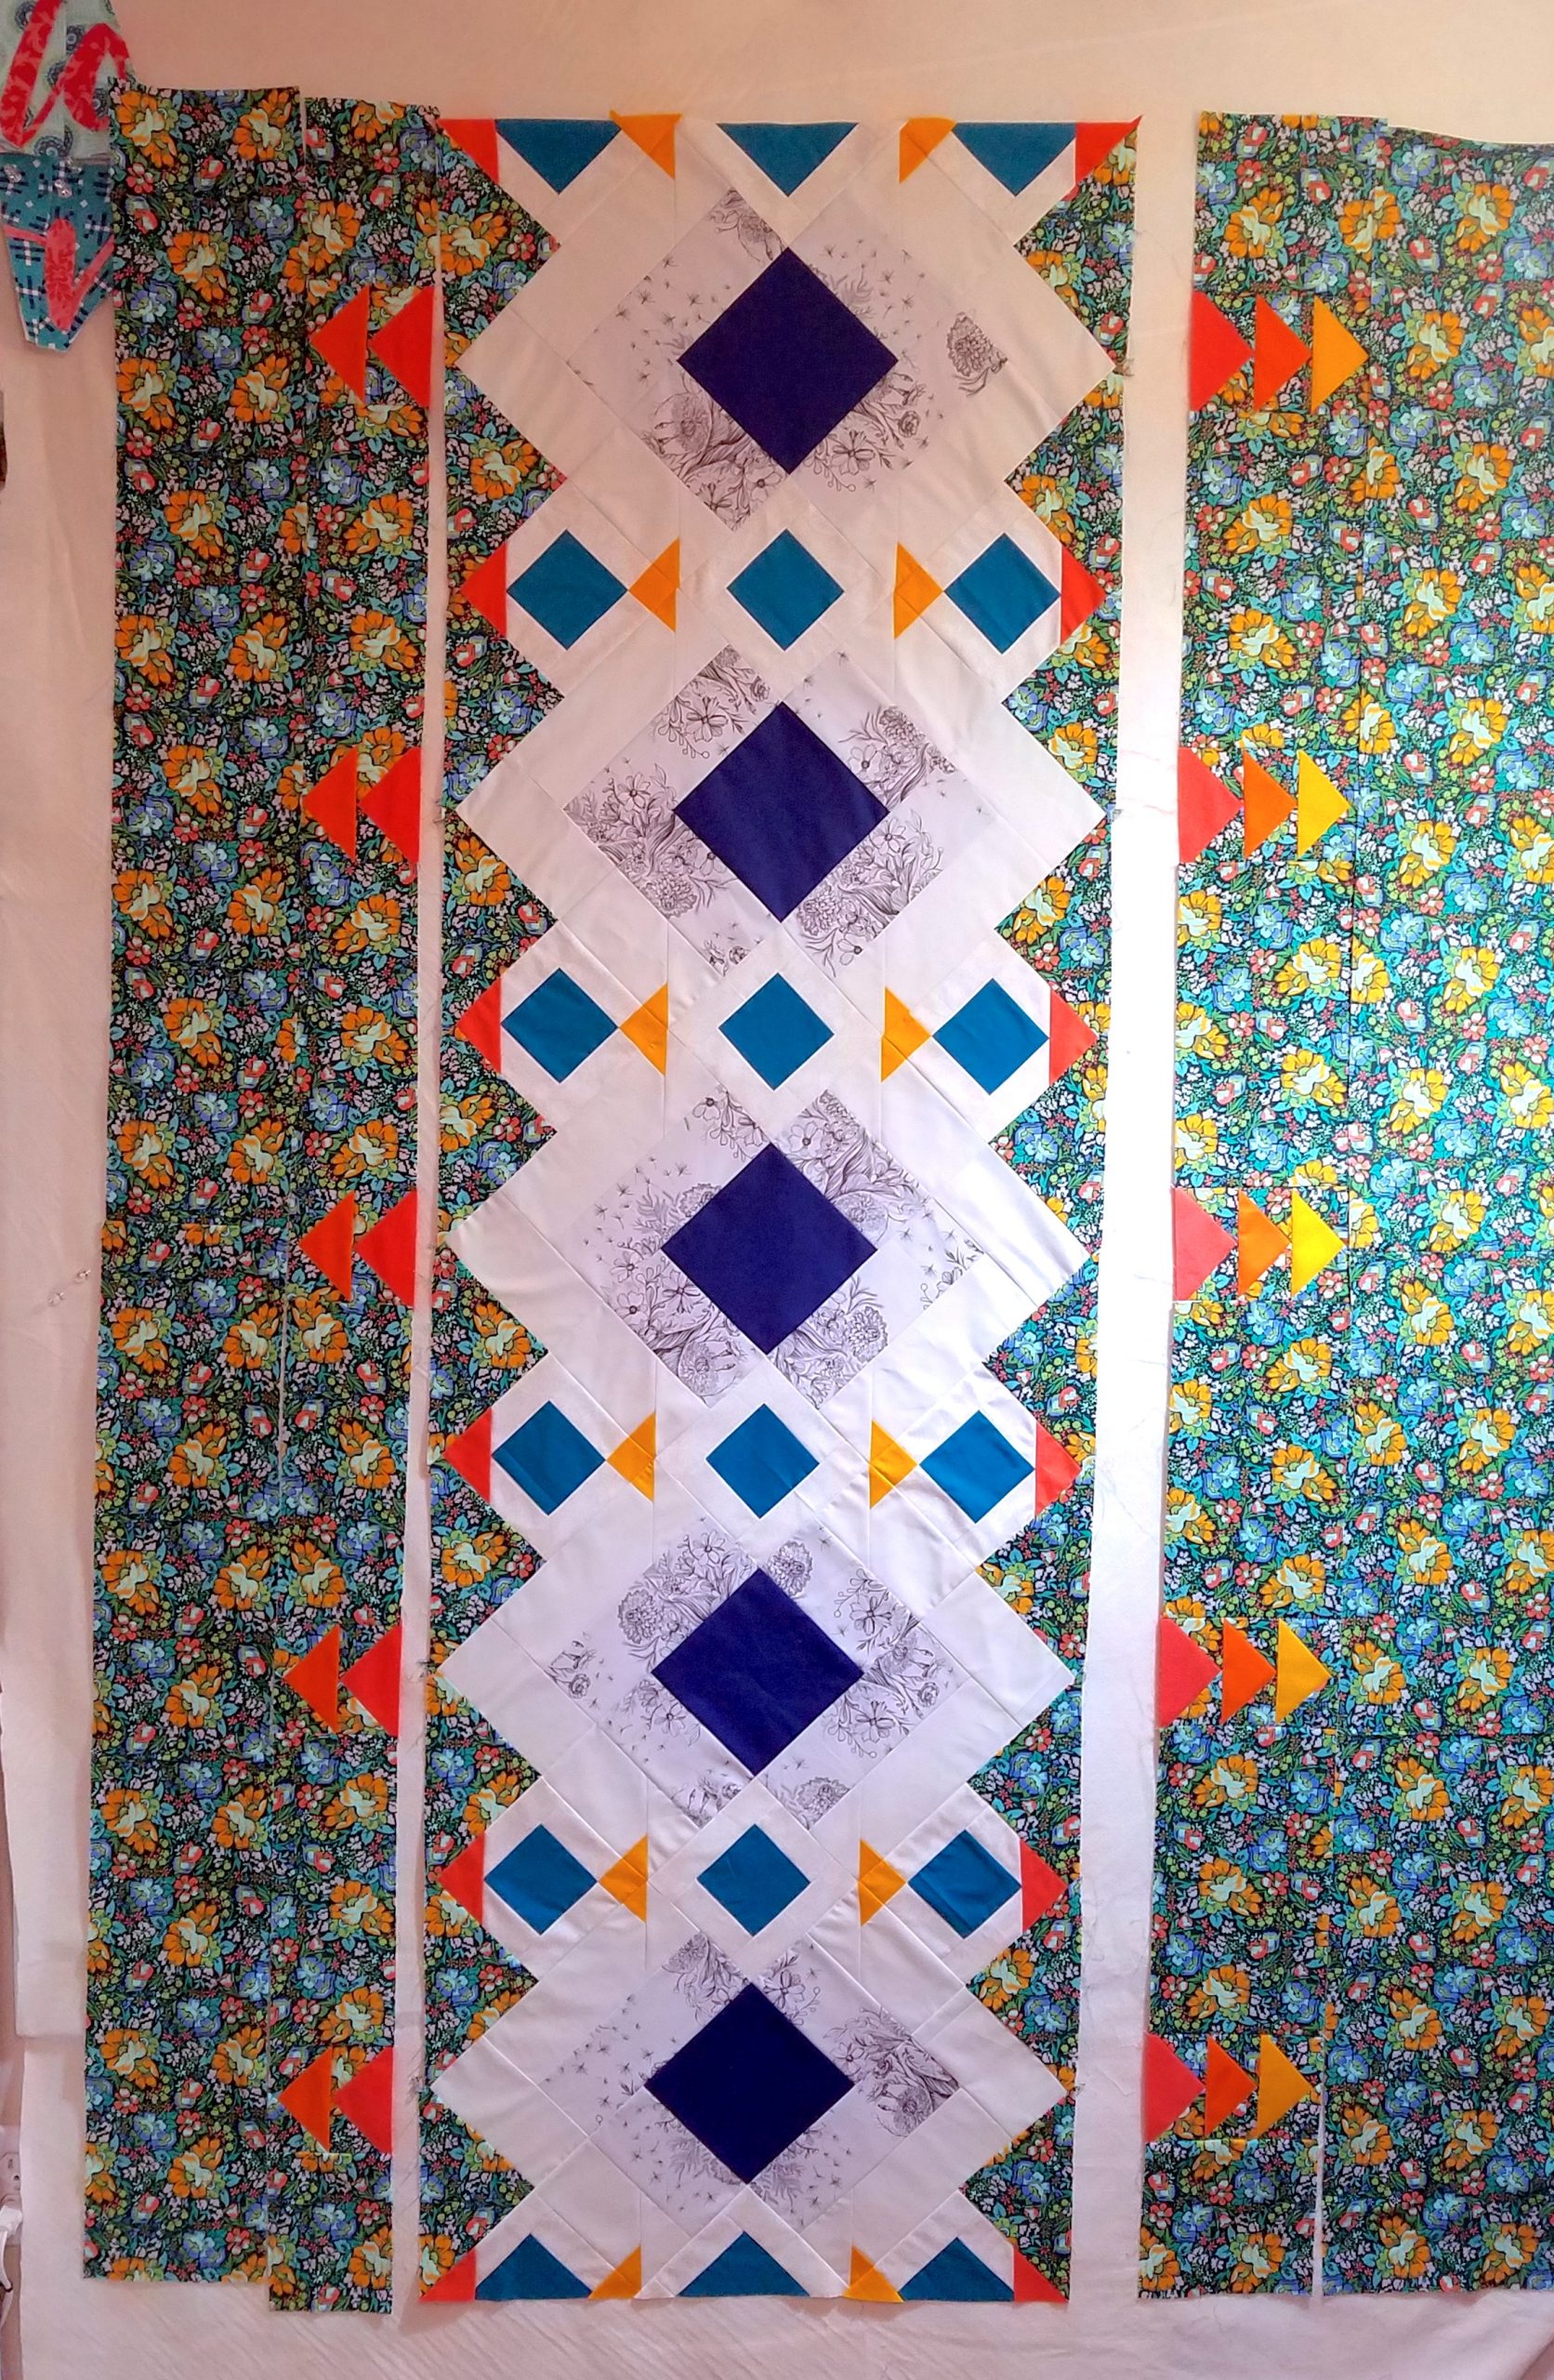
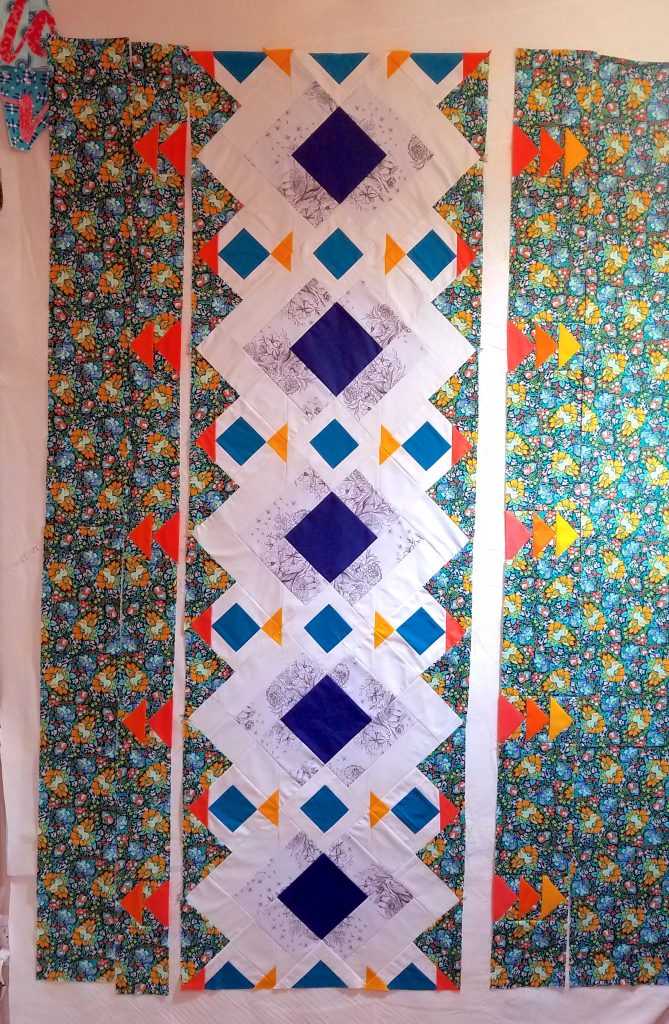
Here is my center section all sewn together. (I REALLY need to figure out better lighting in my sewing room! Send suggestions my way! 😉 )
Since taking this picture I’ve sewn on the left side of the quilt and just need to finish the right. Finishing the quilt top is today’s assignment and on Wednesday we’ll talk basting and getting ready to quilt!
Homework
Your homework for the beginning of this week is to:
- Assemble the center section of the River Pond quilt
- Finish the quilt top
There are already so many amazing and beautiful quilt tops showing up in the Facebook group! I love them all! Be sure to share yours too!
If you are just joining in, WELCOME!! We are so happy to have you! Or, if you started before but then left and are now coming back, Hooray! There is still plenty of time to catch up as long as you set a little time aside here and there. I can’t wait to see your beautiful quilts!
- Join the Conversation
Join the From Blank Pages Community on Facebook to see what others are making, give feedback on others questions, share your progress and plan, get inspired, and meet other awesome quilters!
If you’re on Instagram, tag me, @fromblankpages, and use #fbpRiverPond so we can all see what you’re up to and comment!


