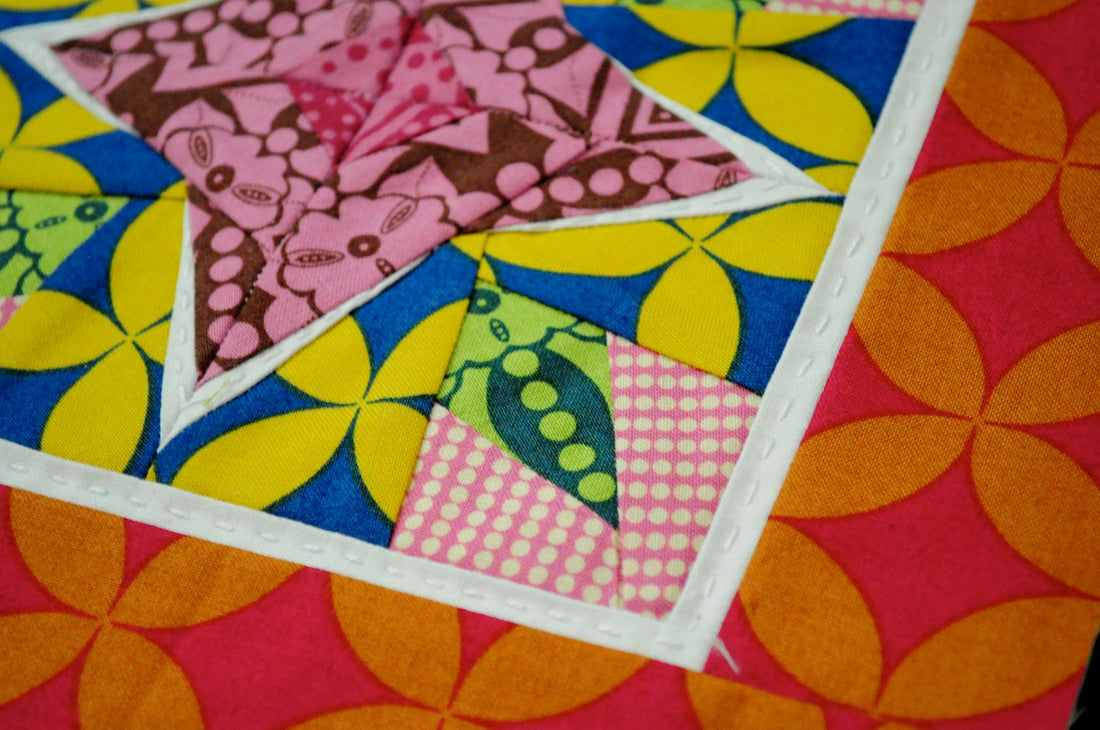
10 inch Double Border using a 6 inch Block
Share

Cut:
Thin border:
2 - 6.5 inch x 3/4 inch (A)
2 - 7 inch x 3/4 inch (B)
Thick border:
2 - 7 inch x 2 inch (C)
2 - 10 inch x 2 inch (D)
Instructions:
1. Create any 6 inch finished block - left unfinished at 6.5 in x 6.5 in. I like to leave on all the paper until I've attached my first border. It adds a little more stability to the fabric and helps prevent shifting.

2. Lay out your block and fabric as follows:

3. Sew both (A) pieces to opposite sides of the pattern:

4. Sew both (B) pieces to the top and bottom of the pattern:

5. Sew both (C) pieces to opposites sides of the block:

6. Sew both (D) pieces to the top and bottom.

7. Create a quilt sandwich by layering top, batting, and backing fabric.
8. Baste with pins or spray baste. I love to spray baste, especially with little blocks like this.
9. Quilt as desired. Minis are especially fun to hand stitch.
10. Square up to 10 in x 10 in.
11. Bind.

And your finished! A beautiful mini to hang on your wall, or use as a snack mat... if you dare. ;) These would make great gifts for Mother's Day, birthdays, swaps, etc! I hope you'll share what you make!