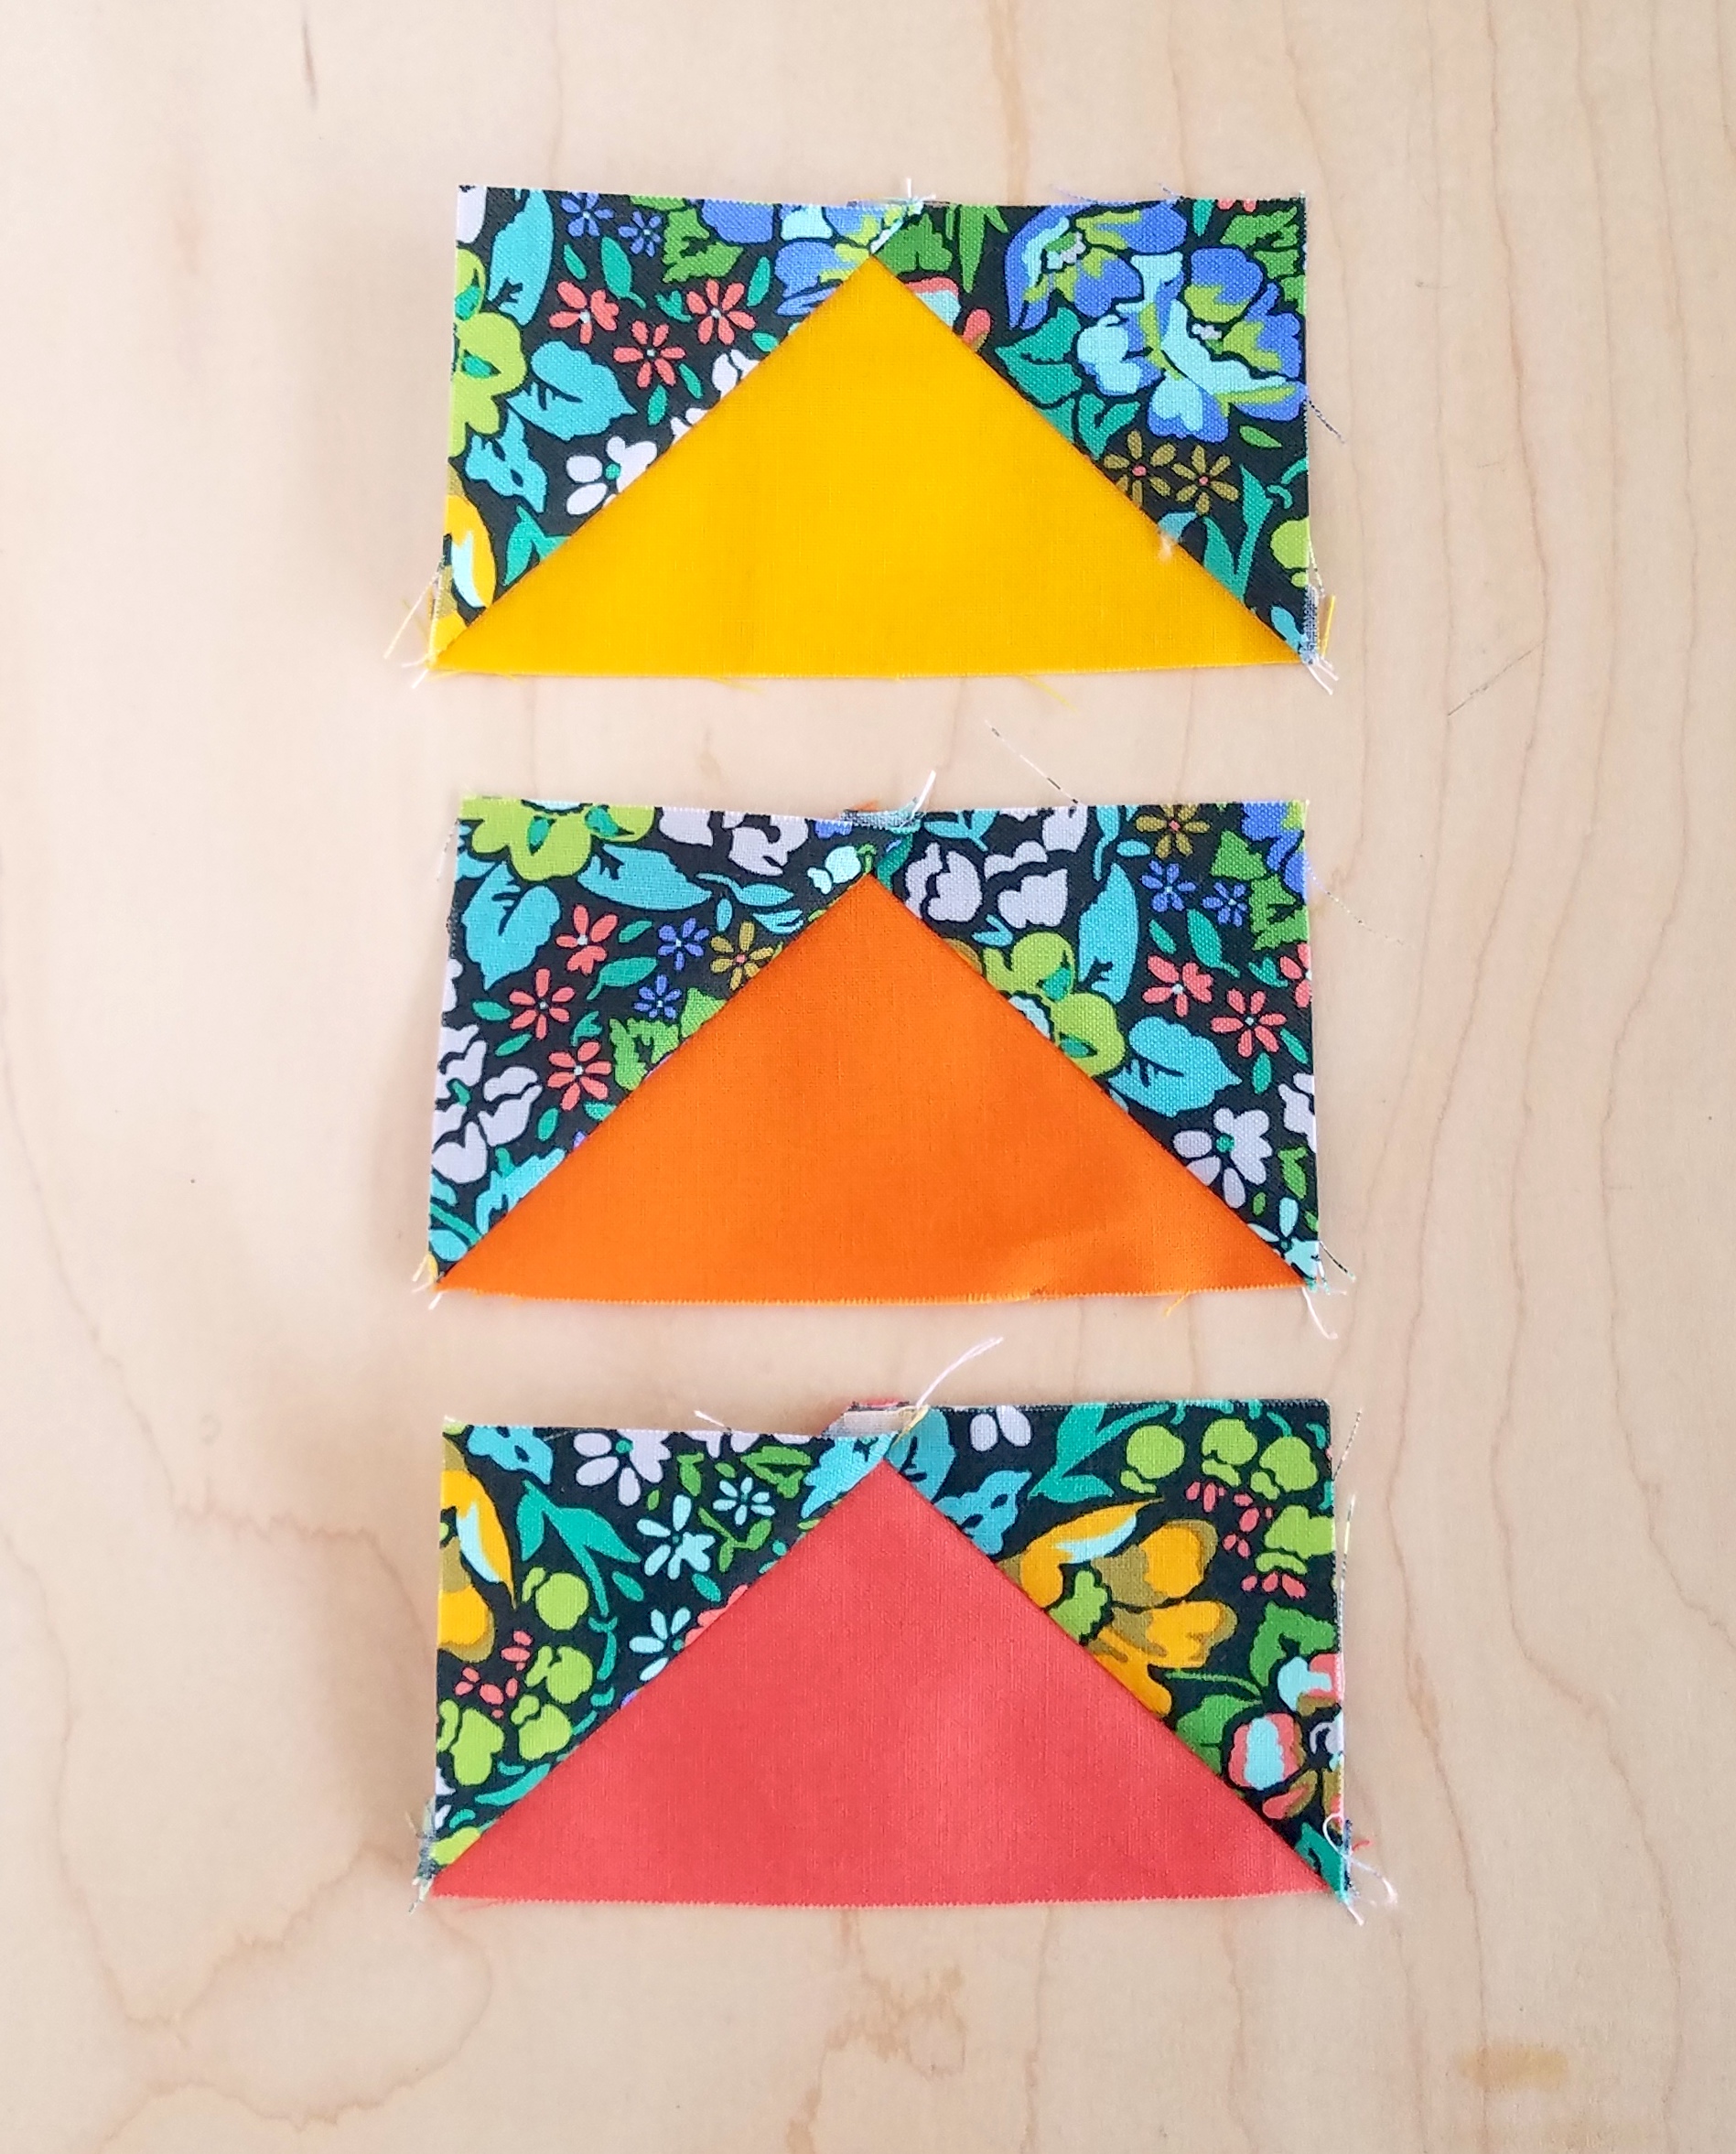
This post is part of the River Pond Quilt Along. You can find more info and the schedule HERE. While this content is directed toward the River Pond QAL, the same concepts can be applied to any quilt that you are making.
You can purchase the River Pond pattern HERE.
Progress Check-in
We had a pretty laid back QAL week last week… were you able to make some good progress and catch up? I saw a few people who got ahead and your quilts are looking fabulous!!
Hopefully the laid back schedule didn’t encourage you to take too much time off… apparently that’s what happened to me because I totally missed posting this post on Monday. oops. 😉
Anyway… that’s ok! Because here we are again ready to get back to it! Are you ready?!
Flying Geese
I am actually going to combine this weeks post and next weeks post in one. I’m off to QuiltCon in Austin tomorrow, and since this is a last minute trip, I think it will help me be more successful in helping you (by not falling behind myself. lol.) So, take the time you need and here we go…
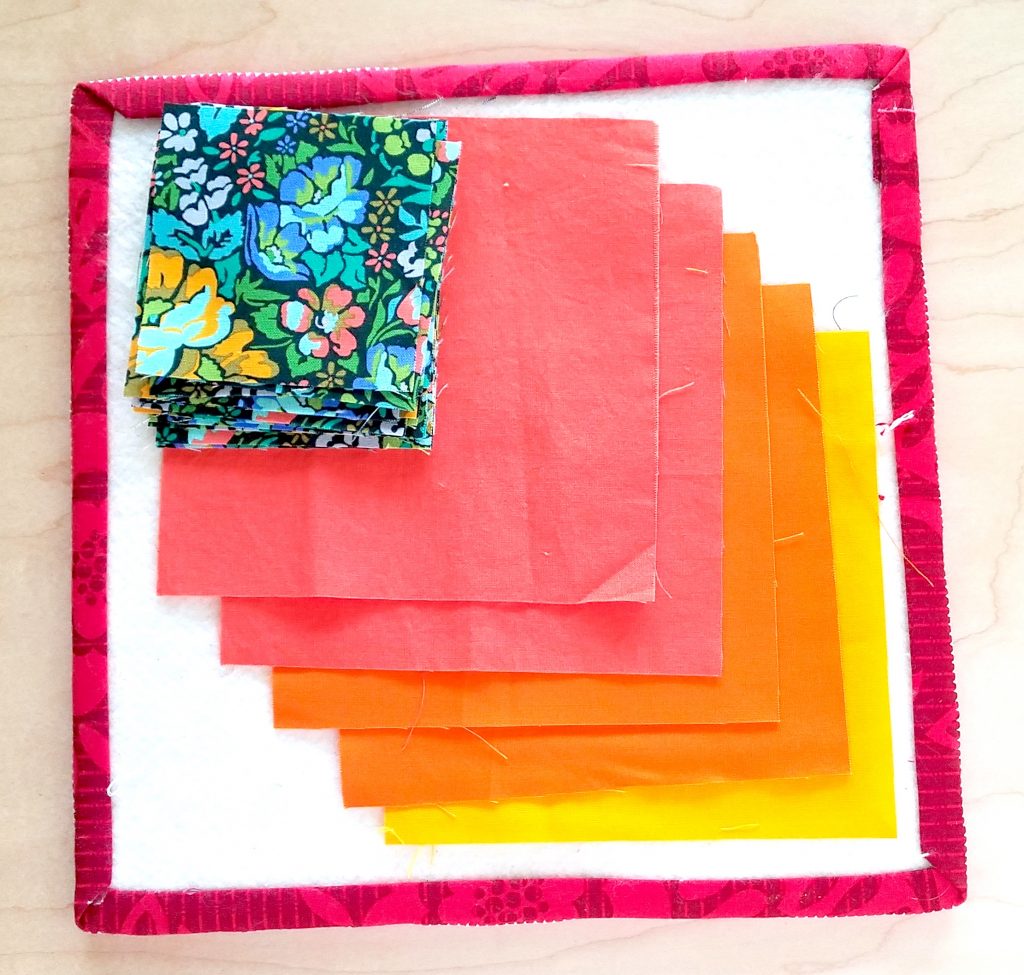
We’ll start with the 4-at-a-time flying geese.
Here’s my fabric cut out:
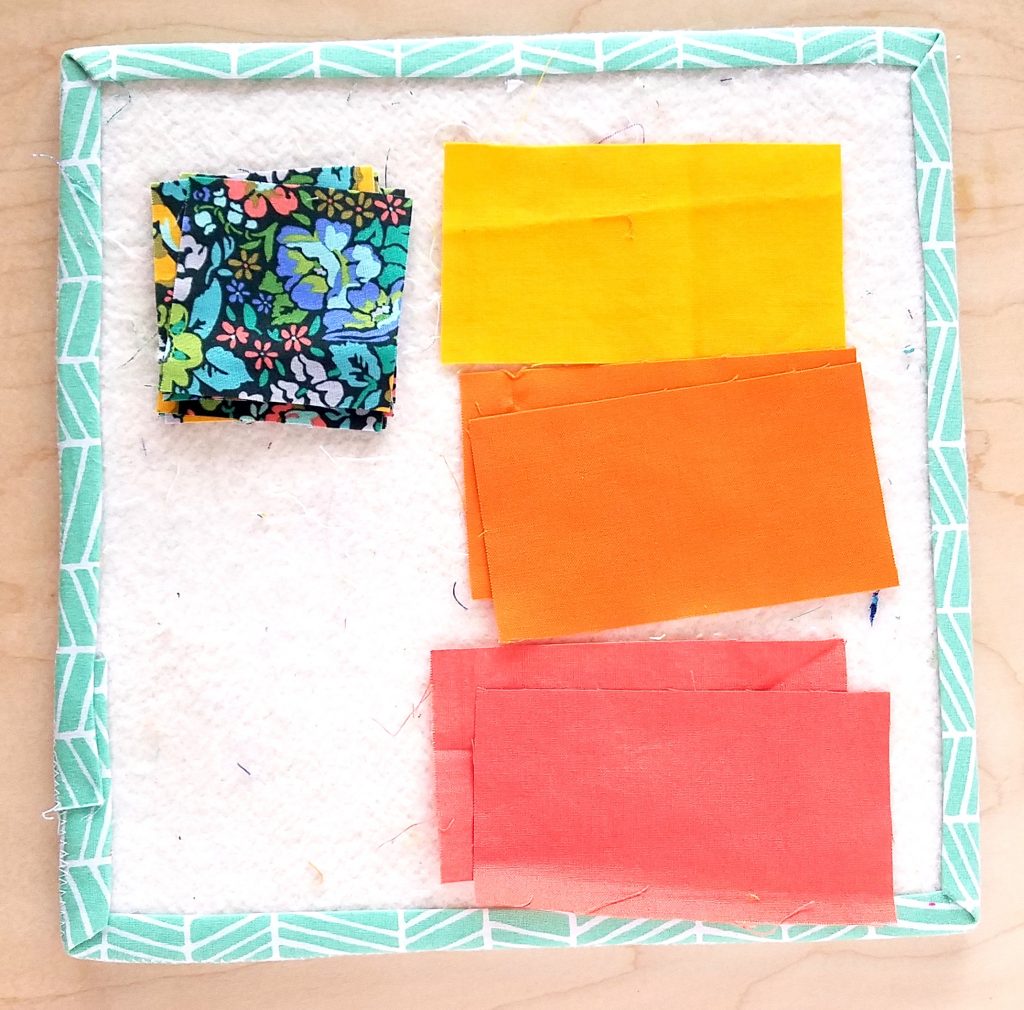
And here is my fabric for the single flying geese:
Here are 3 of my 25 flying geese.
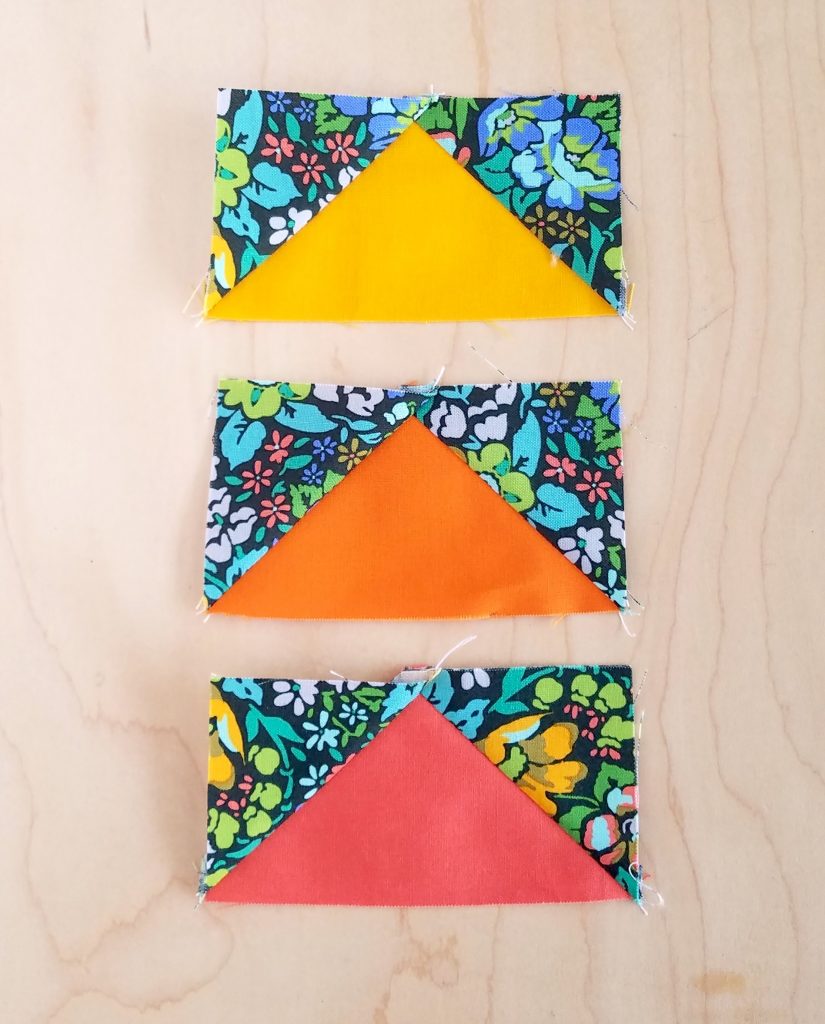
If you have any questions, or would like more instruction/direction for making the geese, or trimming them, let me know! I’m more than happy to add a tutorial if that would be helpful! (but if it’s not needed, then I’ll use my time to work on new patterns instead.)
The trimming of the geese is my least favorite part of making this quilt, so we’ll take this week slow again so you have time to get them made and trimmed! (I still actually haven’t trimmed my geese…. which I need to do so I can sew my top together! ug. haha.)
Quilt Progress
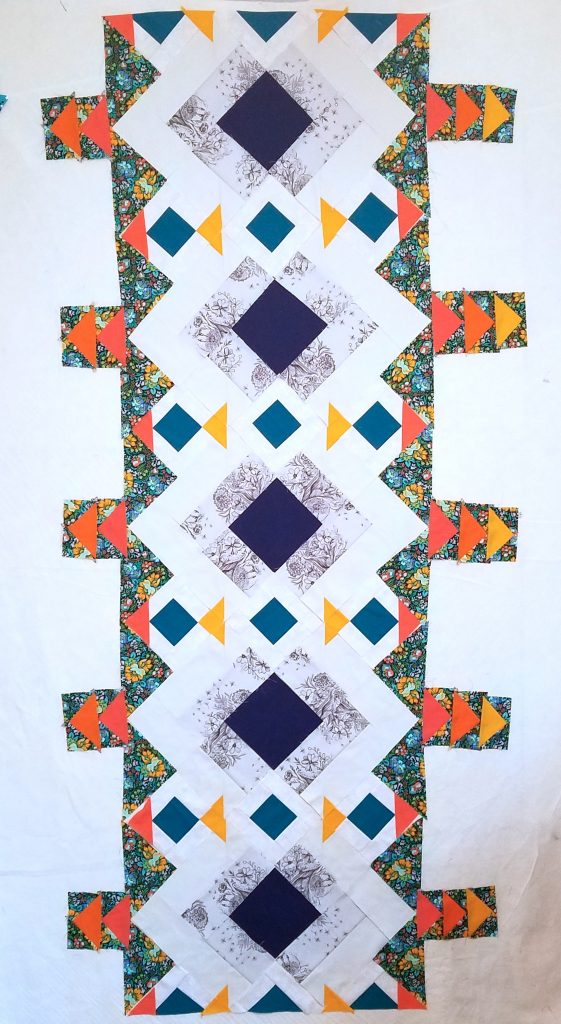
Here’s my progress shot with the flying geese. I added the setting triangles as well (the instructions are right before the flying geese in the pattern).
Homework
This weeks assignment:
- cut your setting triangles
- make your 4-at-a-time flying geese
- make your single flying geese
- trim your geese
This is a little more work than what we’ve been doing, so I hope you’re ready to step it up a notch. 😉 I’ll be back next Wednesday (1 week from today) to start assembling the geese and then we’re moving on to assembling the quilt top!
You all are doing awesome!! And your quilts are looking so beautiful! I’m so thrilled and so loving them!! I hope you’re having fun!
- Join the Conversation
Join the From Blank Pages Community on Facebook to see what others are making, give feedback on others questions, share your progress and plan, get inspired, and meet other awesome quilters!
If you’re on Instagram, tag me, @fromblankpages, and use #fbpRiverPond so we can all see what you’re up to and comment!


